.png)
Creating Accounts
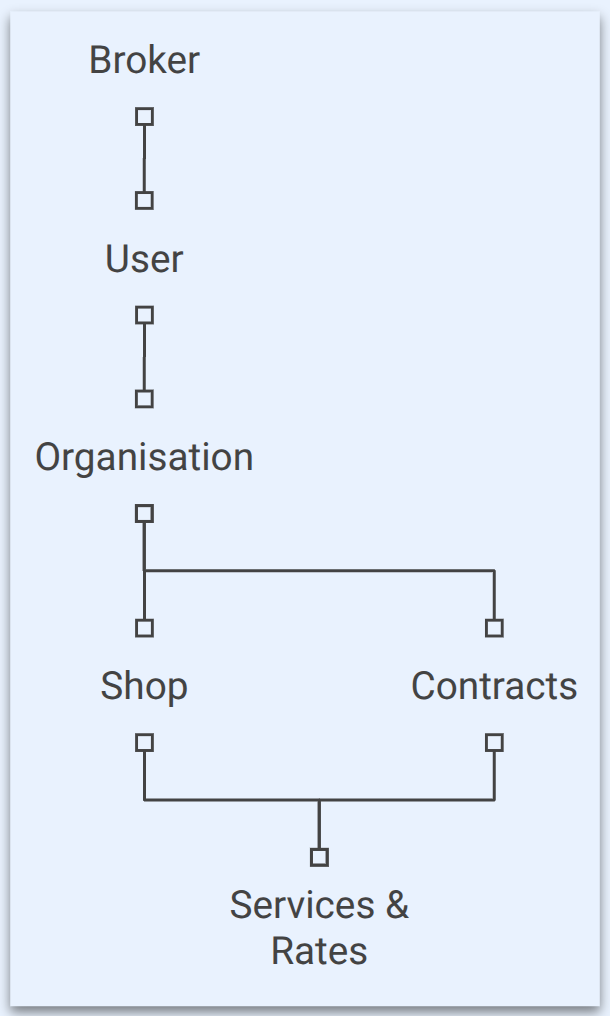
Structure
Broker: The platform owner.
User: The email address used to log into the platform, where permissions define what can be accessed.
Organisation: The registered company details. Carrier contracts are assigned to organisations.
Shop: The shipping location.
Contracts: The connection between the MyParcel.com API and the API of the chosen carrier.
Services rates: The available services through the selected contract and shipping location.
Steps taken to create a new shipping account:
Send an invitation link.
After the customer creates an account, either create a new contract for their organisation or assign an existing one.
ℹ️ Service rates must be added to each new contract.
ℹ️ Services are returned based on the shipper's shop address matching the injection zones of the service rates defined in the contracts assigned to the organisation. This flexibility allows each contract to be as general or specific as needed. If a merchant needs more injection points, they can simply create a separate shop for each one.
Invitations
Invite your customer to set up their own account.
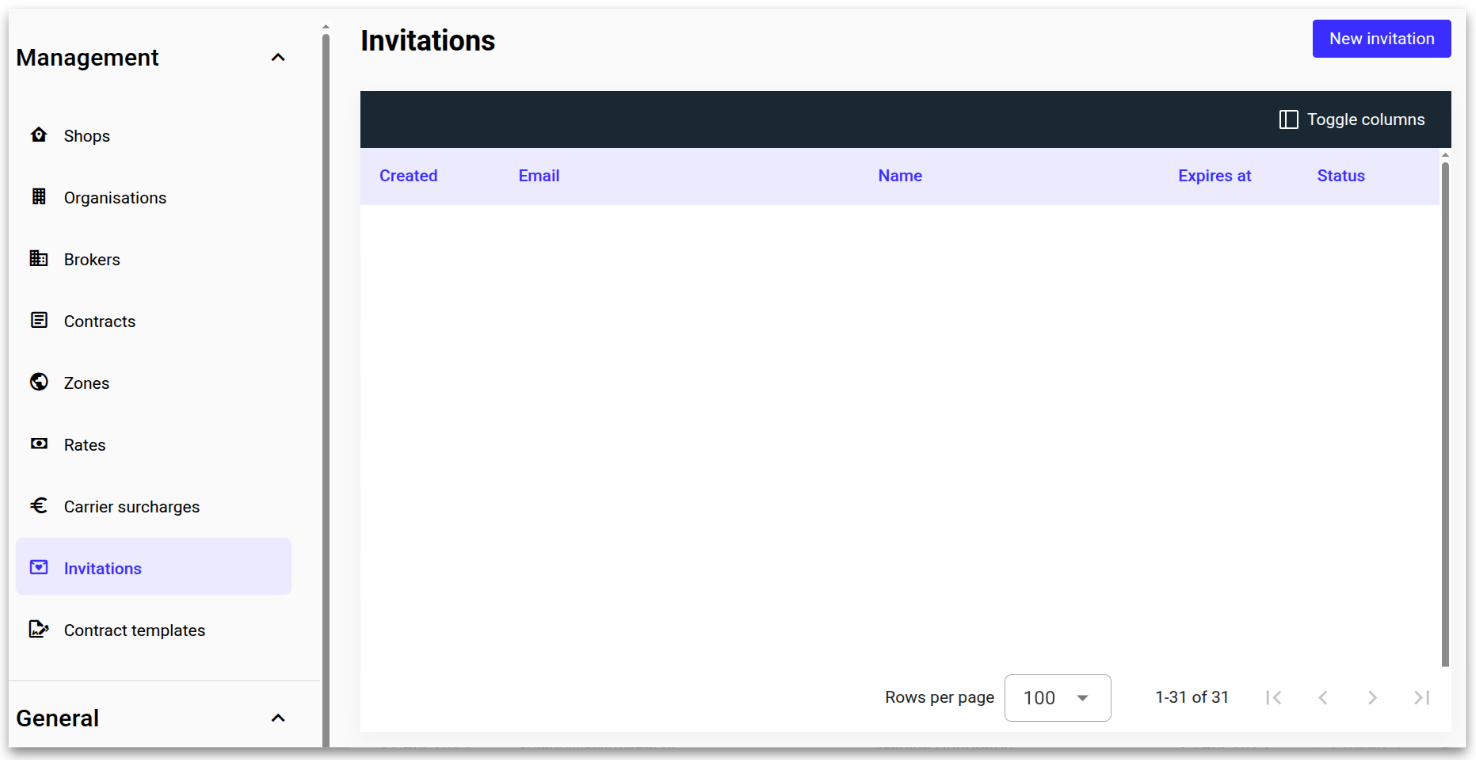
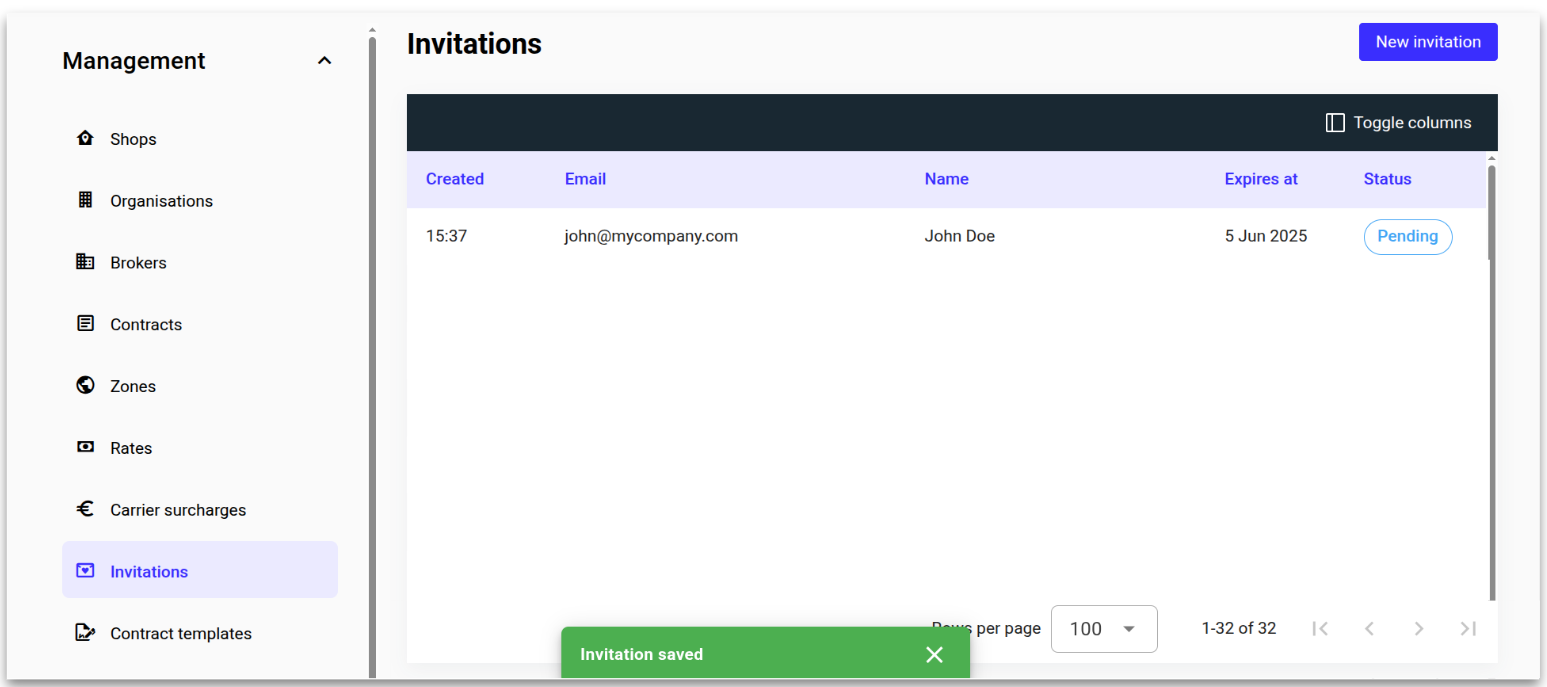
Navigate to the Management settings and select Invitations from the menu. Now click ‘New invitation.’
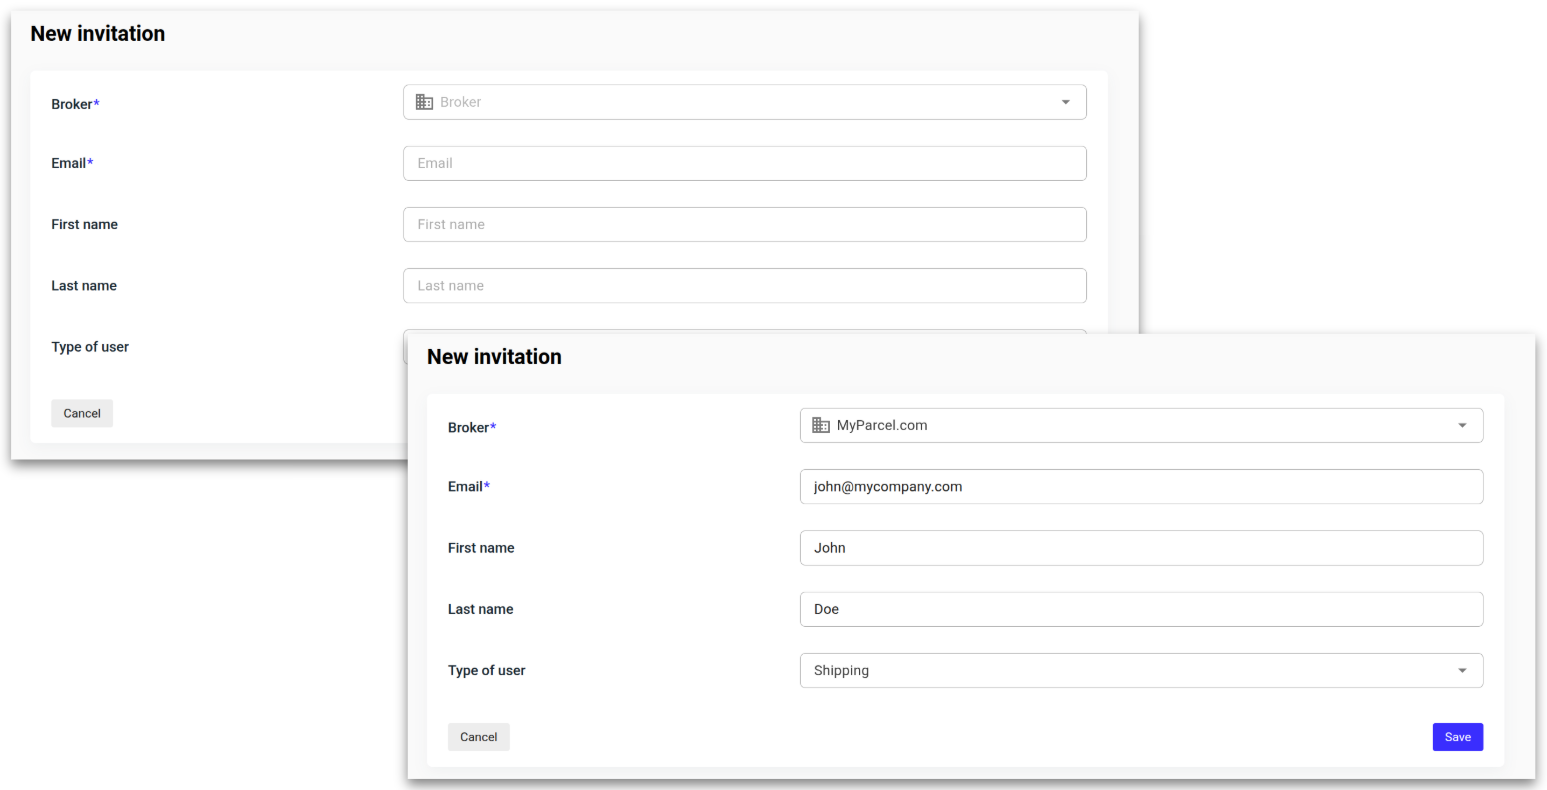
Fill in the new user details and click “Save.”
Type of user.
Shipping - for outbound (export) shipments only.
Returns - for the returns solution only.
If you start with a Shipping account, you can add Return scopes later - and vice versa.
The user’s invitation status is set to Pending, and an onboarding email is sent.
Onboarding Form
Your customer will now receive an email to begin onboarding.

They’ll complete a three-step onboarding form that creates their user profile, organisation, and shop.

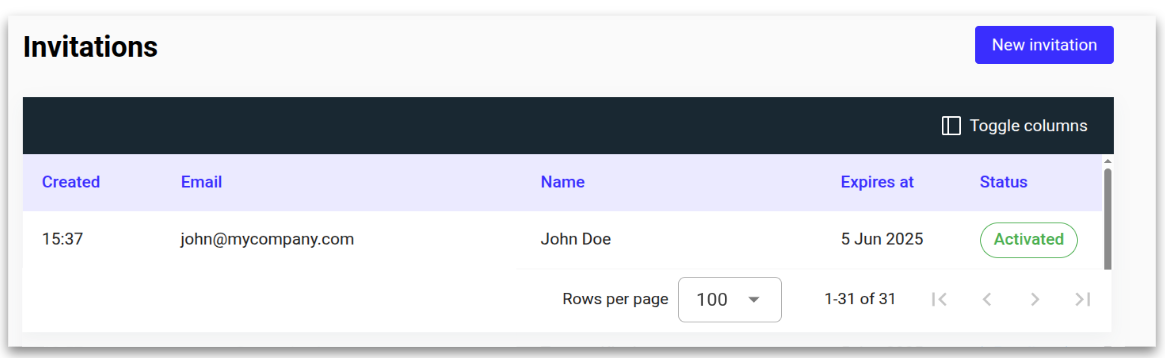
The invitation’s status now appears as Activated and your customer will be able to login.
Manual
Organisations
Set the registered company details and assign the relevant contracts.
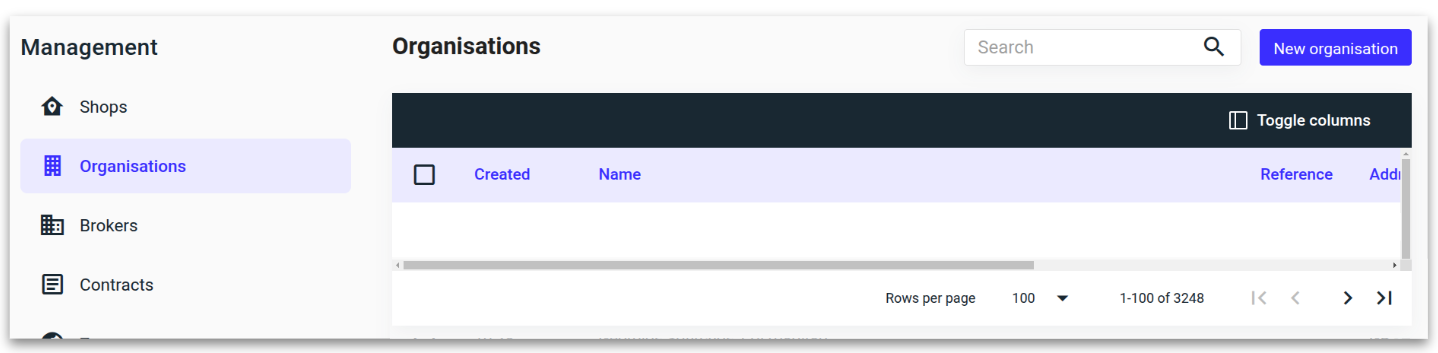
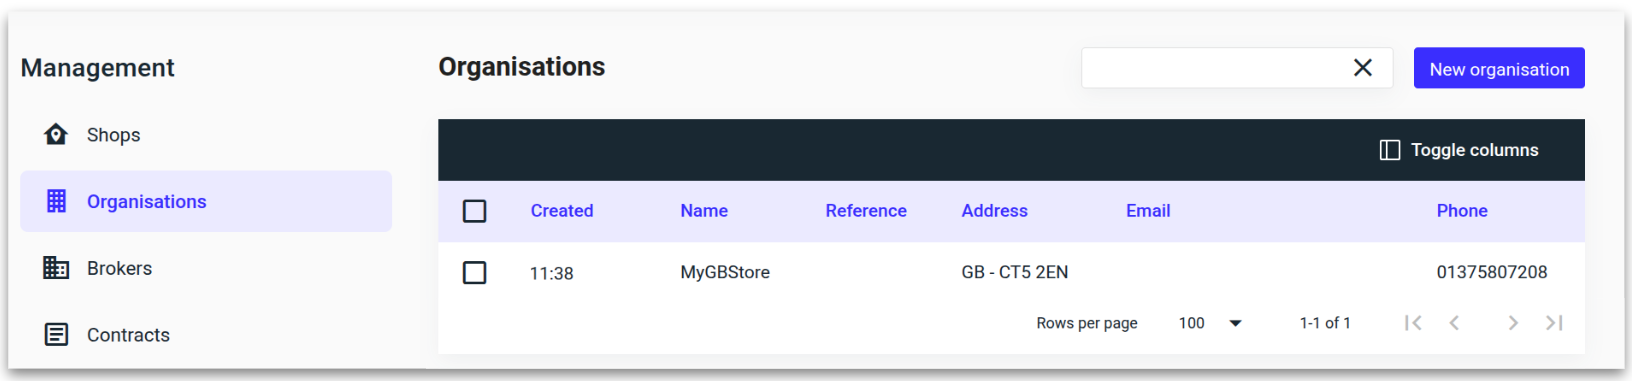
Navigate to the Management settings and select Organisations from the menu. Now click ‘New organisation.’
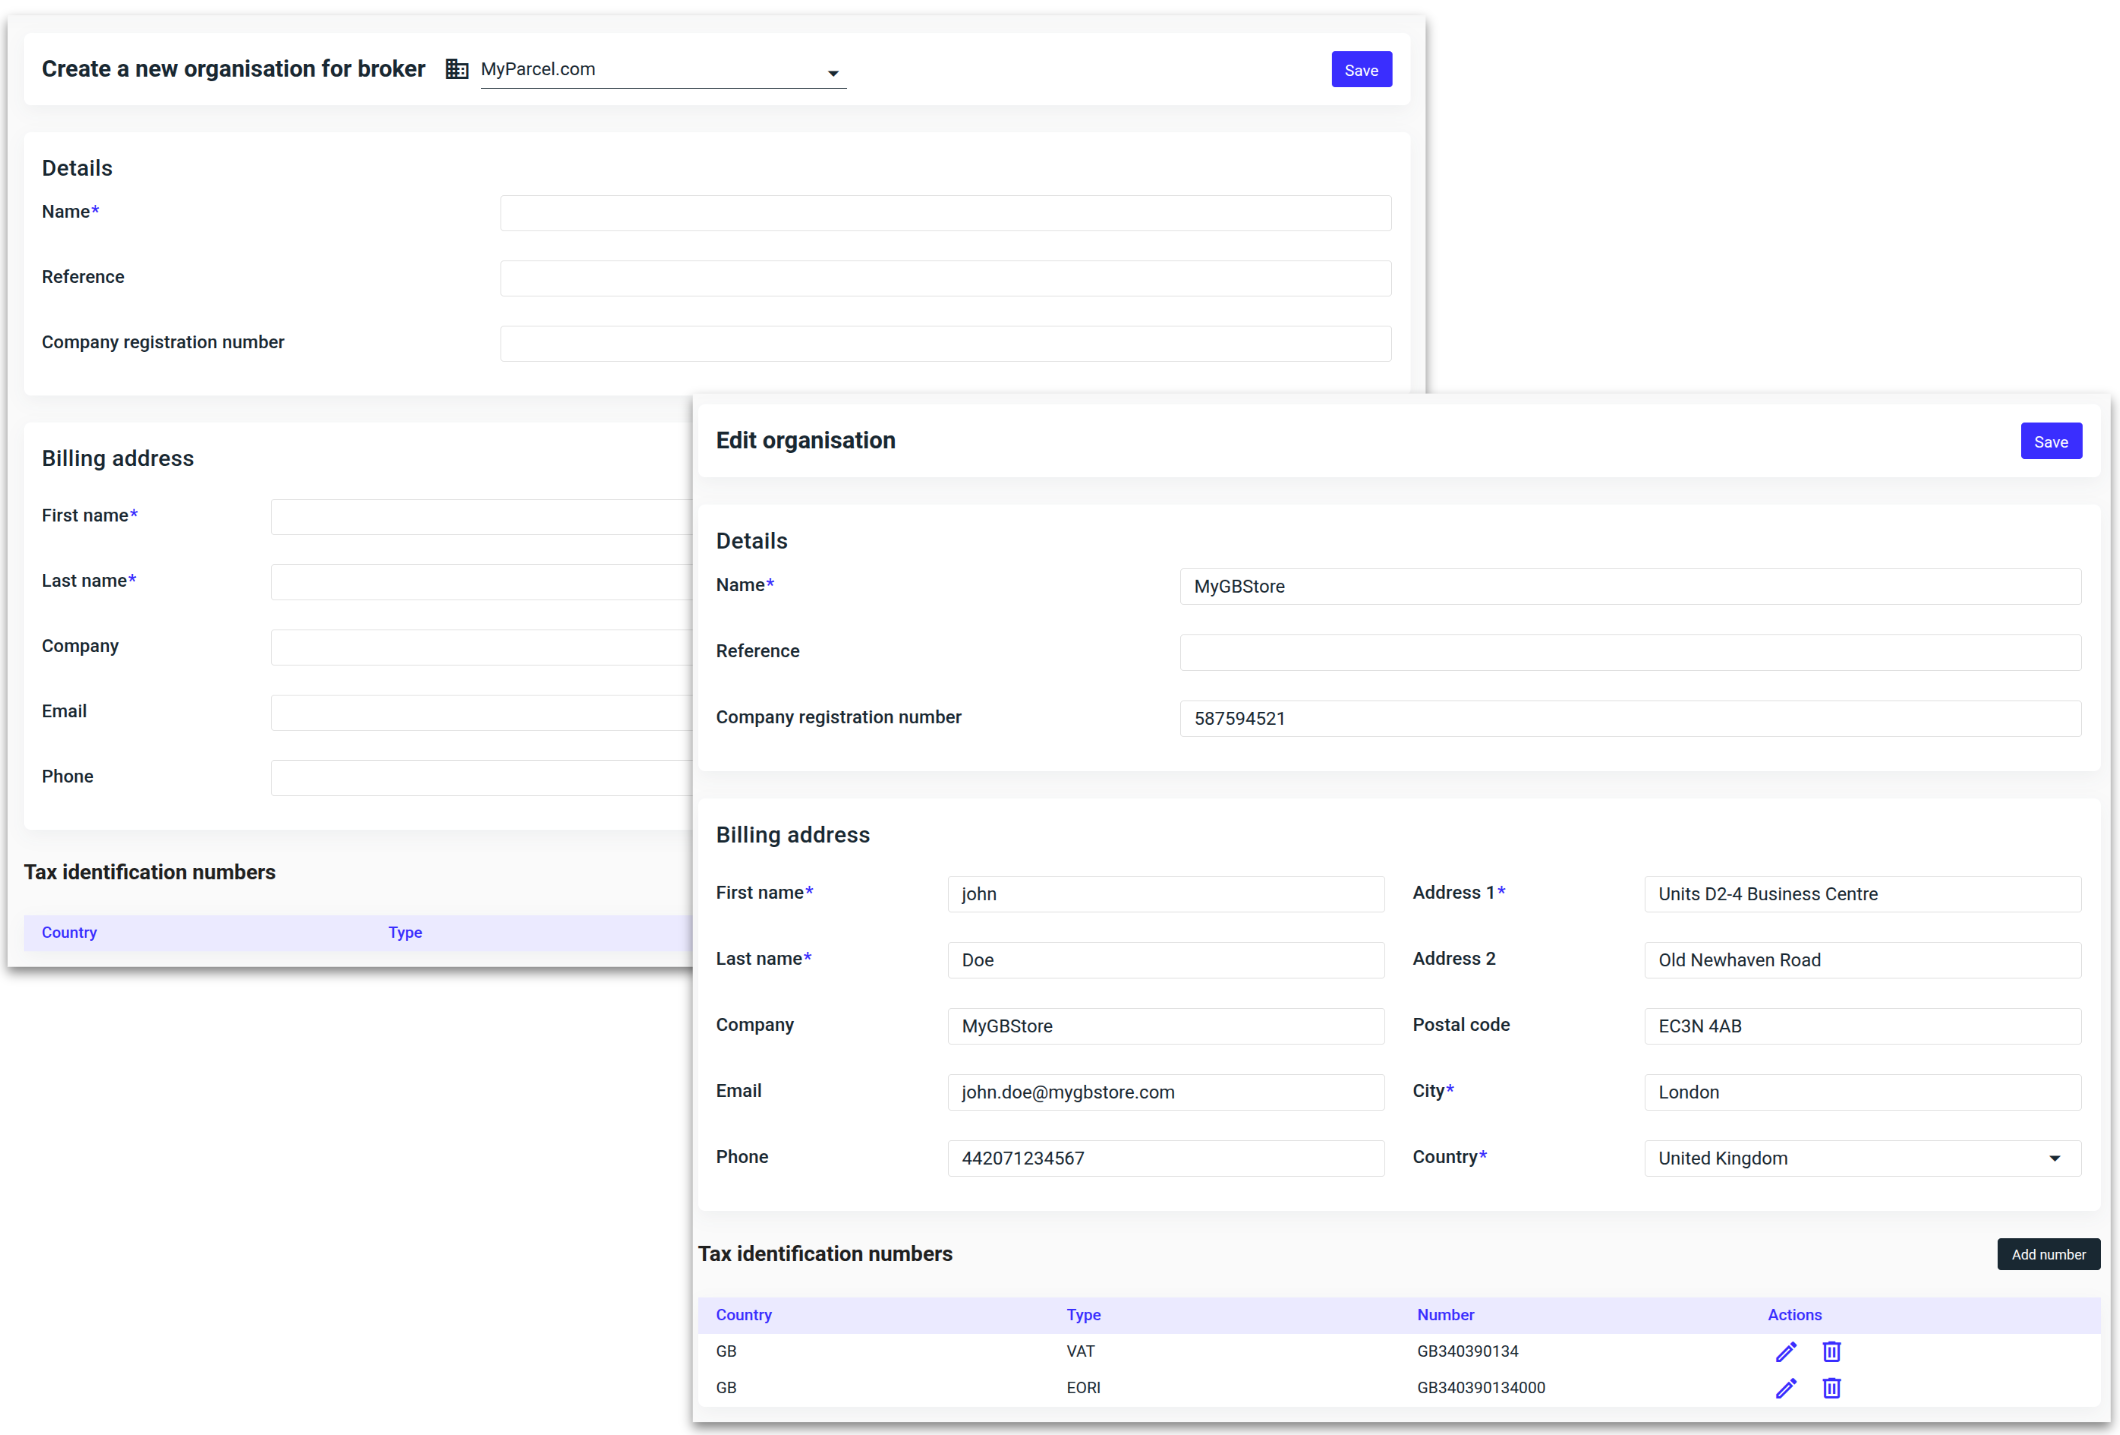
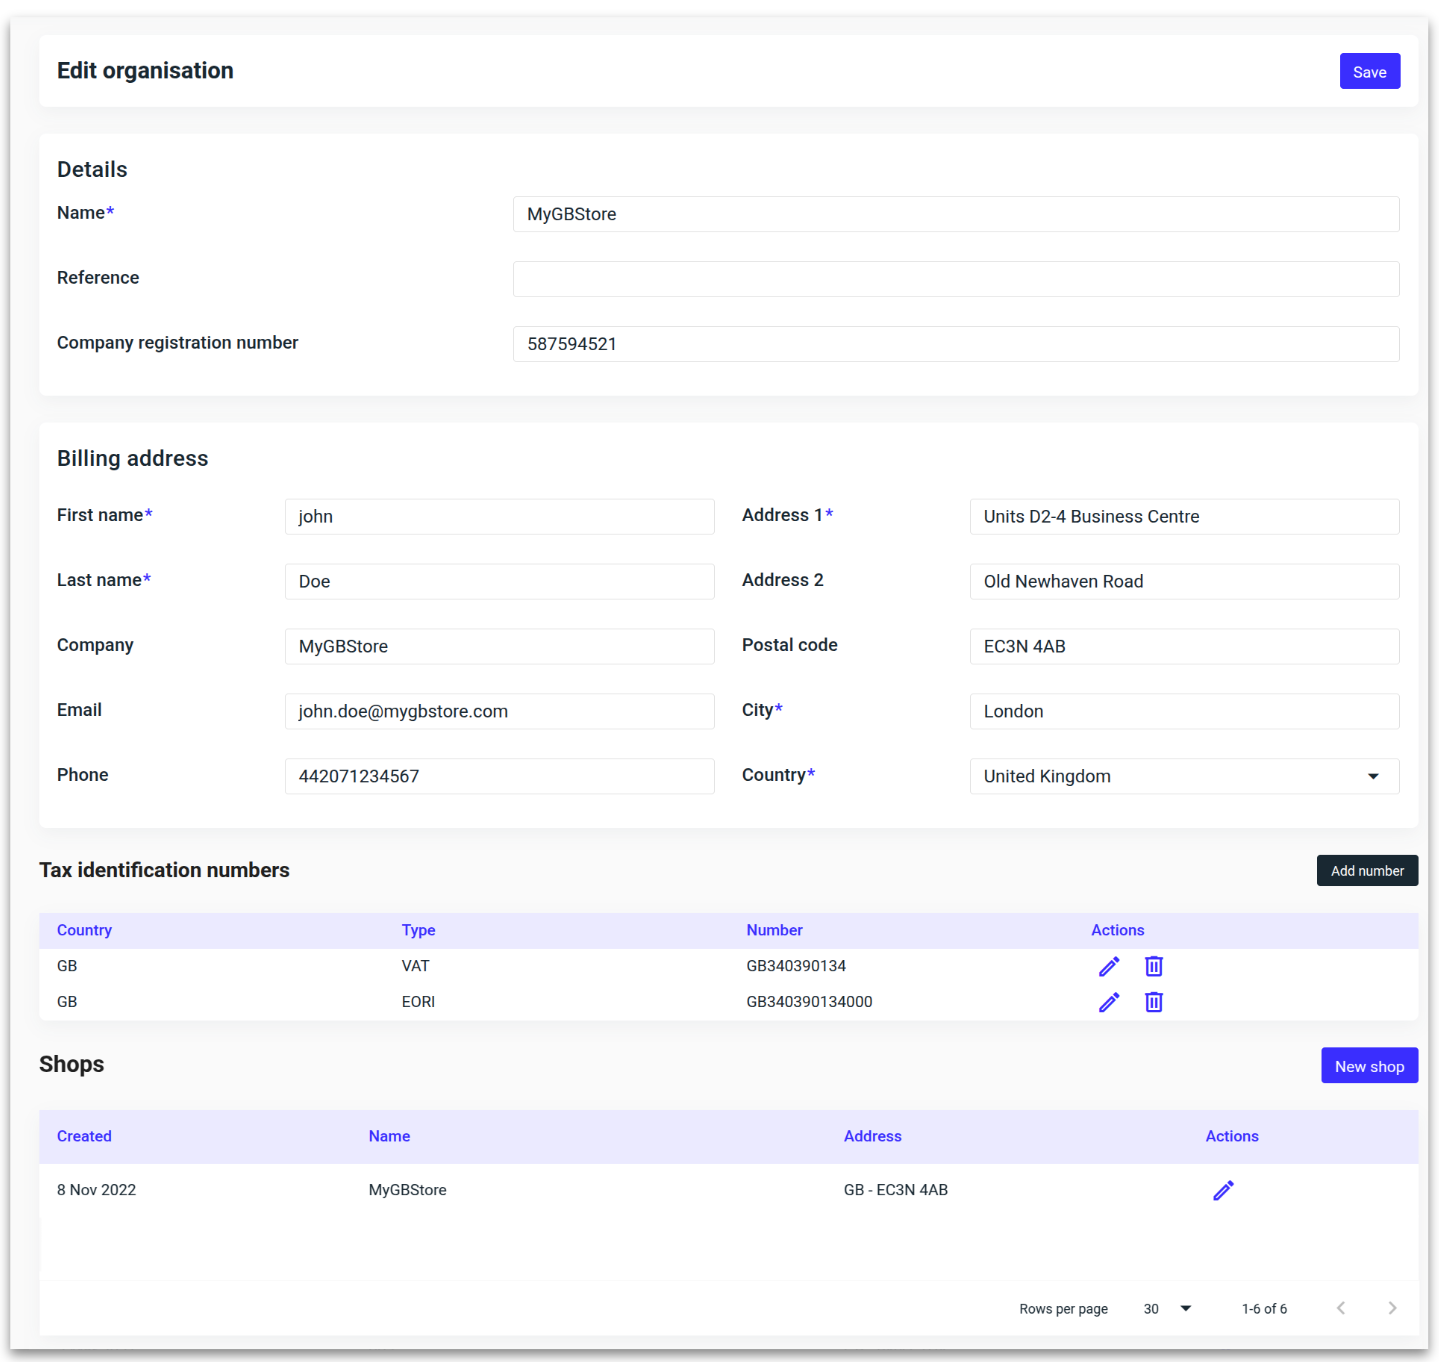
Enter the reigstered address of the organisation and click Save.'
Add any relevant tax numbers by clicking the ‘Add number’ button located towards the bottom right.
You will be redirected back to the organization overview. A shop and contract must now be added before any shipments can be created.
See our guide here on how to assign contracts.
Shops
Create a shipping location.
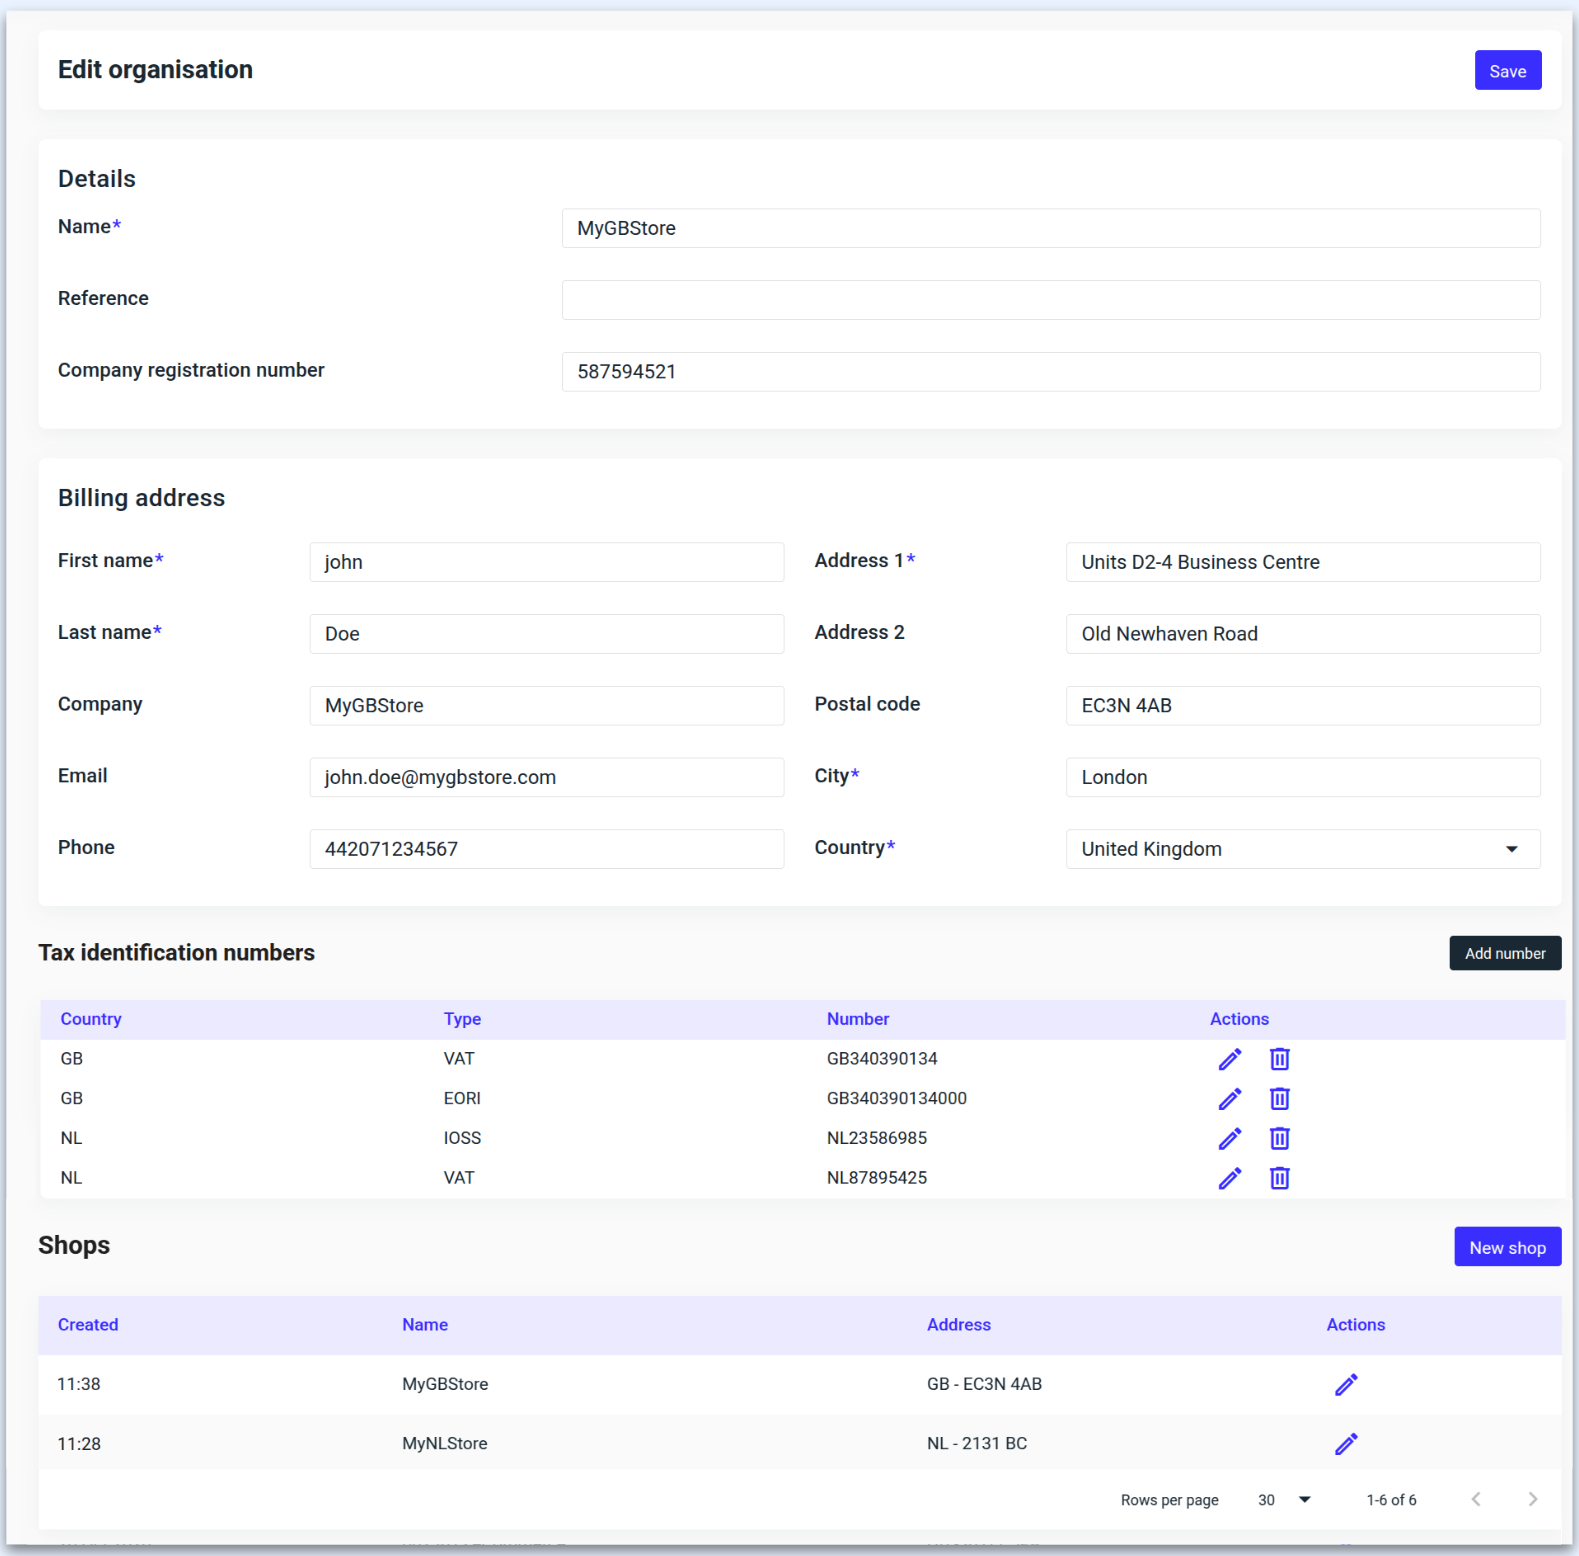
Select the organisation where the shop will be added and click 'Edit organisation.'
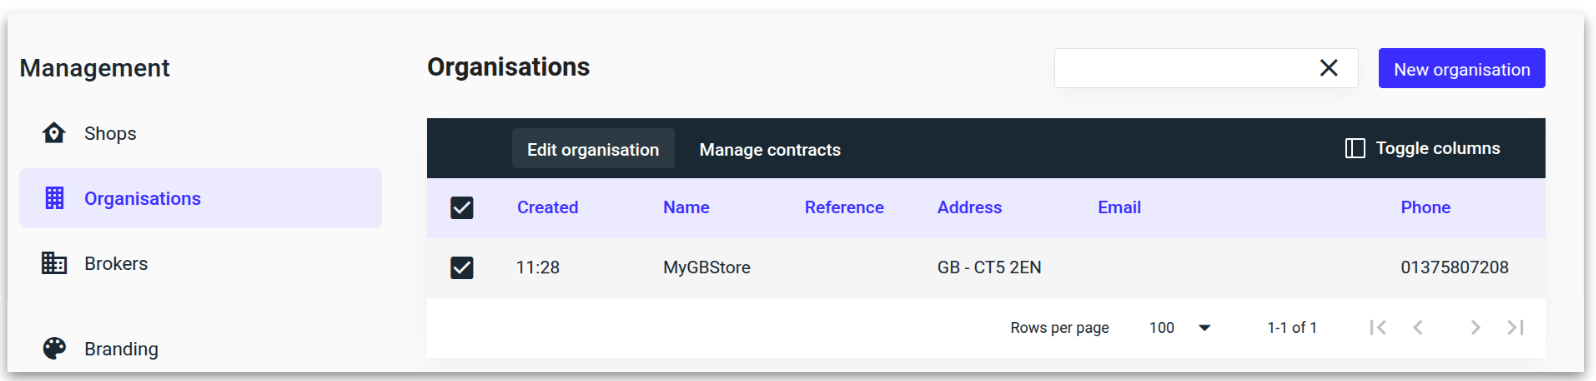
The organisation now has an extra section towards the bottom. Click 'New shop.'

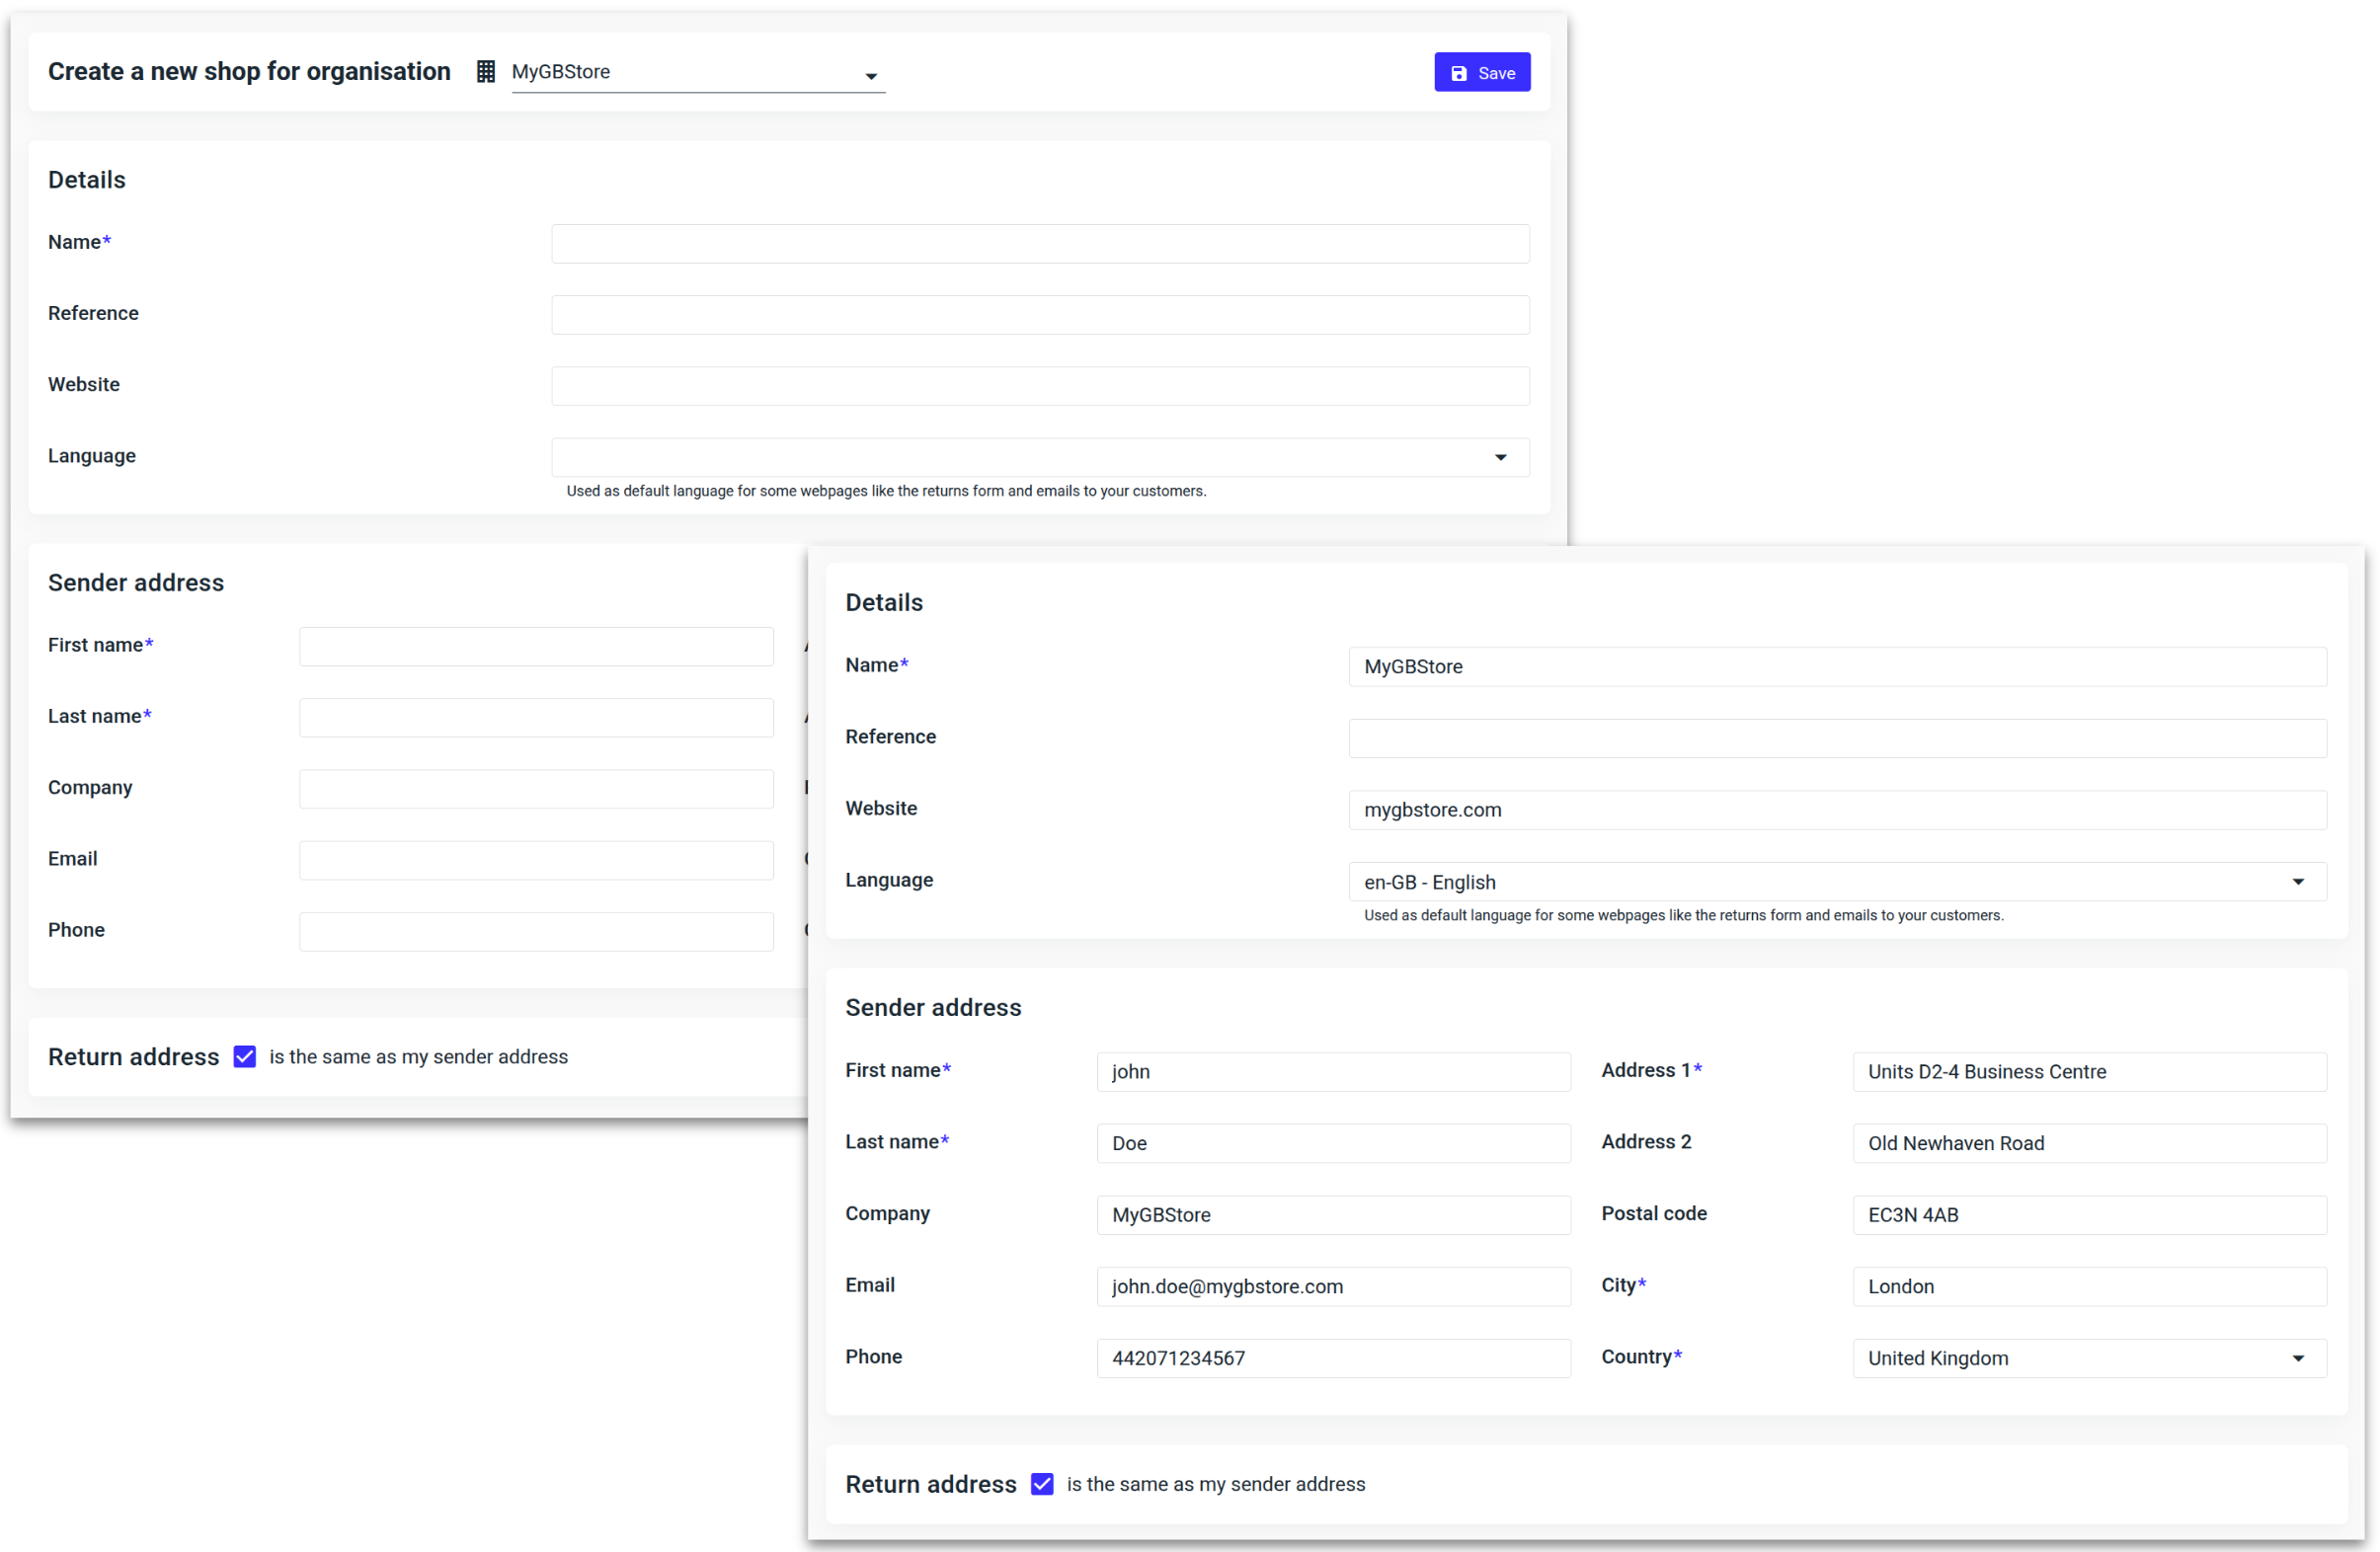
Fill in the details of the shipping location and click 'Save.'
If the return address is different to the shipping address, uncheck the Return address box towards the bottom left of the page and enter the new return address details.
The new shop is now visible under the organisation.
Click ‘Save.’
You will be redirected back to the organisation overview.
Contracts are often based on country or region-specific accounts. If you have accounts in multiple locations, simply create a new shop for each one.
Users
Configure settings such as permissions and language.
Once a user is created, you need to assign the appropriate permissions (scopes) to define what actions the user can perform. After assigning the required scopes, you can then send out the email to activate the user.
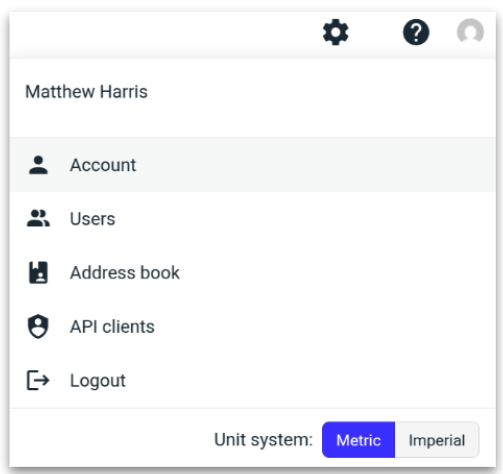
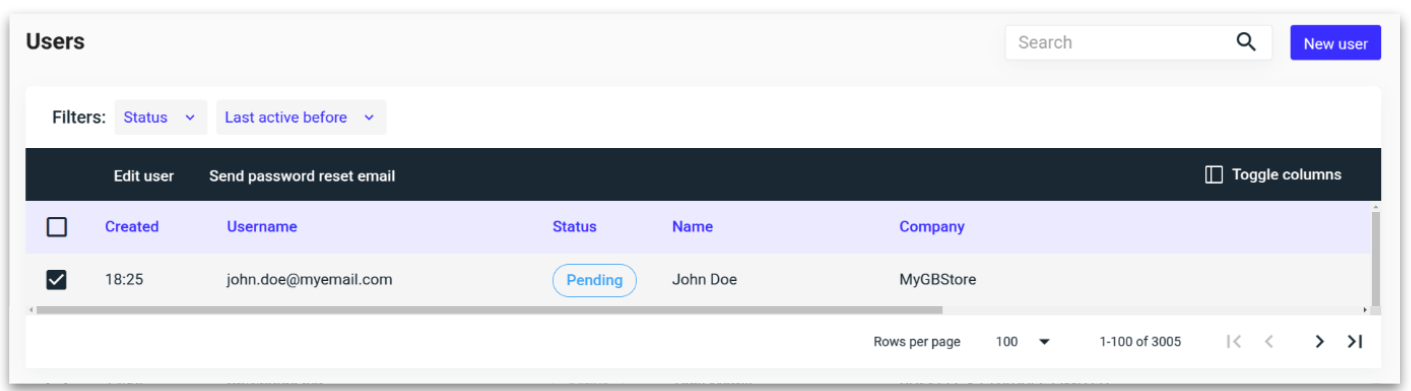
Click on the avatar towards the top right hand side of the platform, followed by 'Users.'
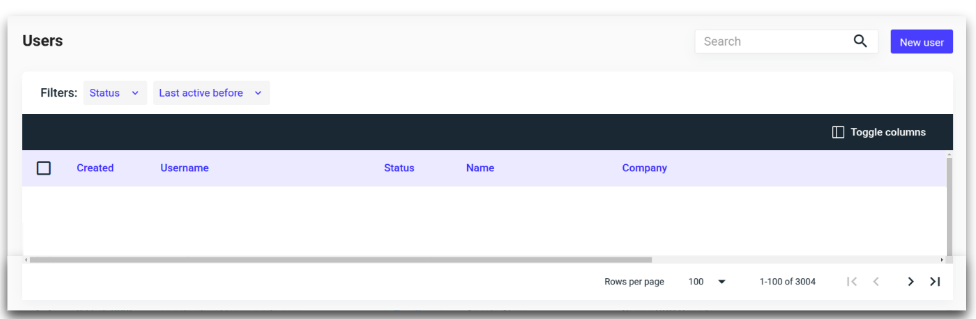
Click ‘New user.’
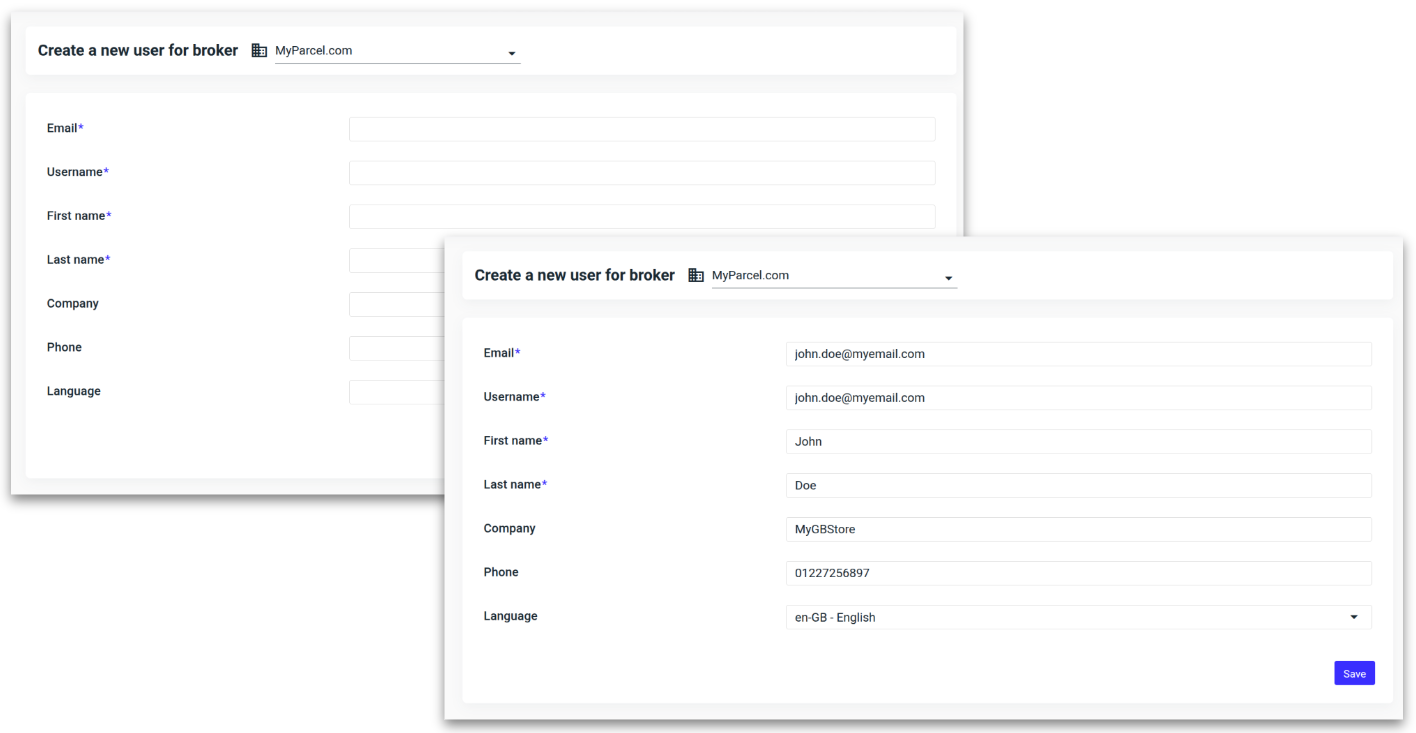
Fill in the new user details and click ‘Save.’
The username is auto-populated from the email address.
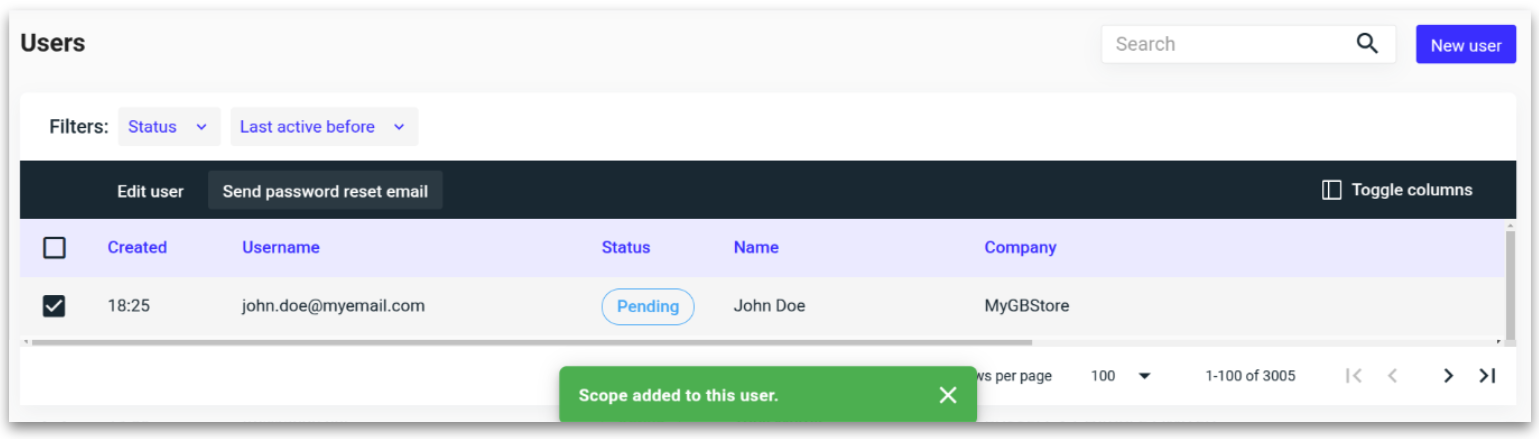
The new user is now visible in the overview. Next steps:
Add the required scopes to the user to define their level of access and determine which actions they can perform within the platform.
Send out the welcome email.

Assigning scopes
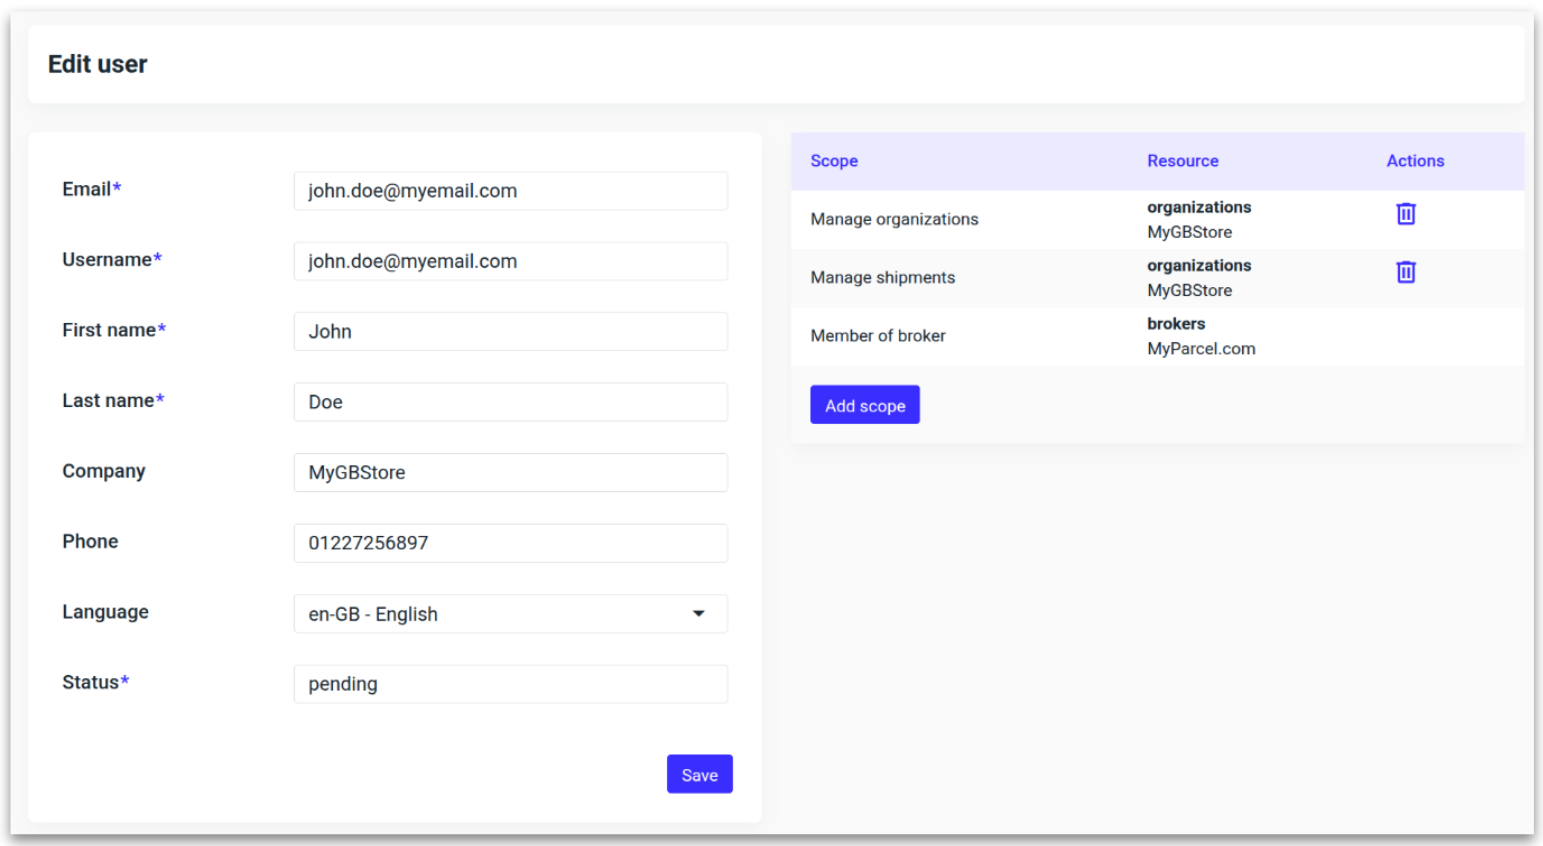
Select the user and click ‘Edit user.'
Click ‘Add scope’ located on the right-hand side.
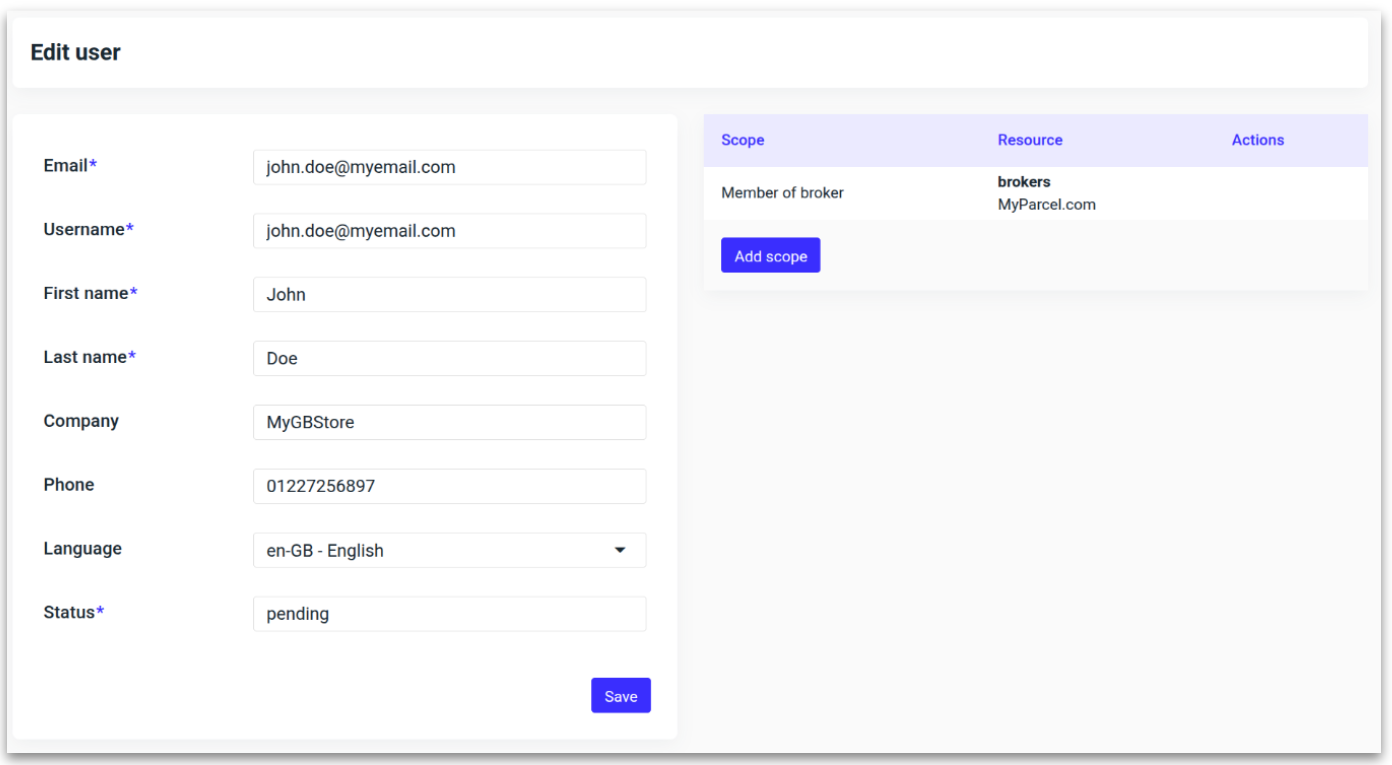
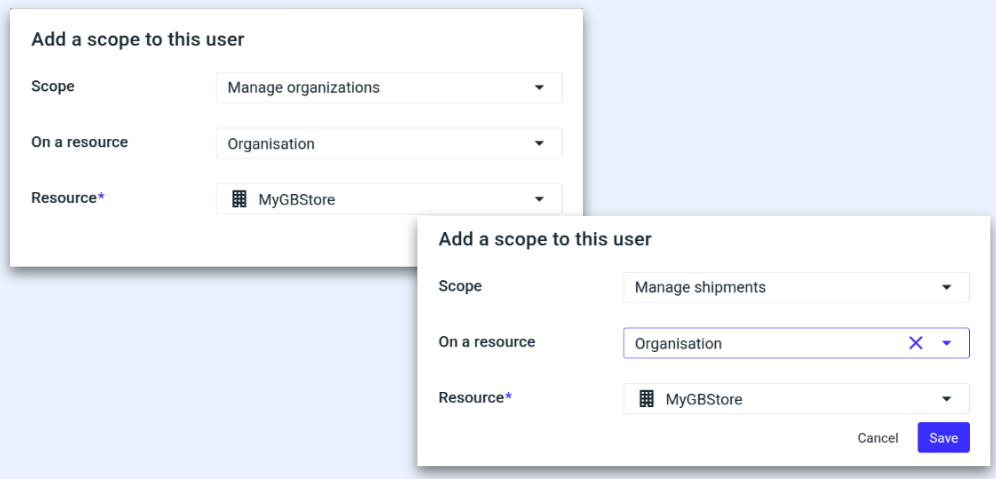
Select the required scope and resource for the user and click ‘Save.’
Only two scopes are required for a standard user account to create shipments:
Manage organisations: Allows the user to edit organisation details, including creating or editing new shops within an organisation.
Manage shipments: Allows the user to create, register, and manage shipments.
Each scope has two levels:
Organisation: Provides access only to the specified organisations.
Broker: Provides access to all organisations under that broker, allowing oversight and management across multiple organisations within the platform.
ℹ️ This image shows the scopes set at the organisation level, meaning the user will only have access to that specific organisation and its shipments.
ℹ️ You can also assign scopes from multiple organisation resources, ideal for managing partnerships and 3PL operations.
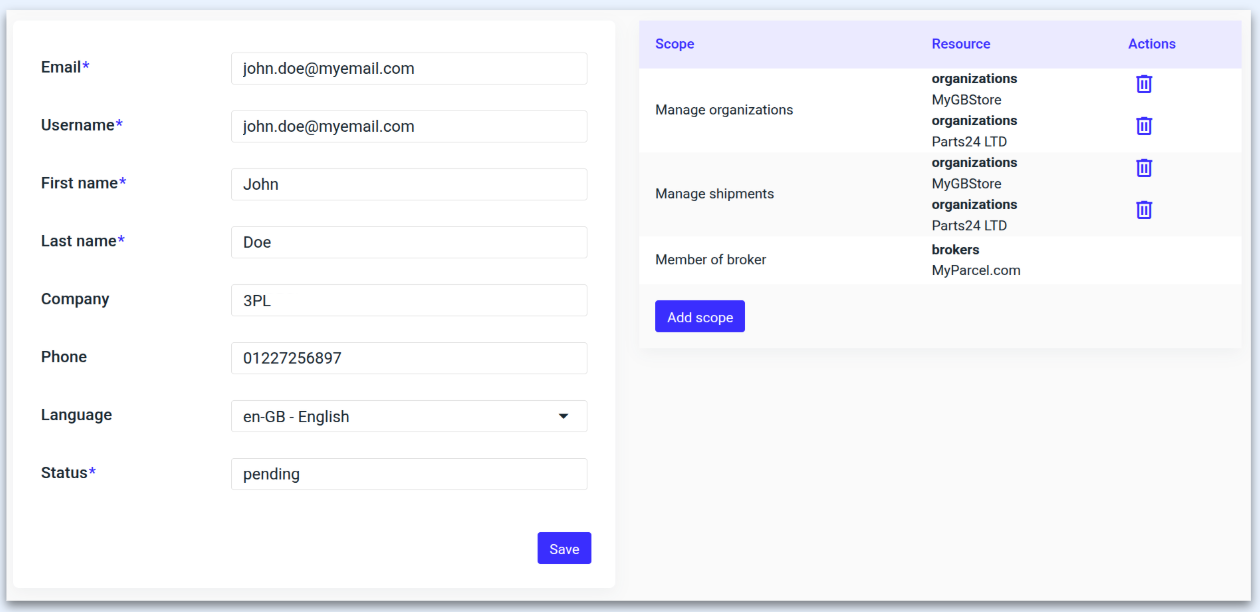
ℹ️ The image below displays the same scopes applied at the broker level, granting the user access to manage all organisations and create shipments across them. This level of access should only be assigned to admin users.

ℹ️ Other features that require additional scopes:
Landed costs: Enables HS code lookup and perform taxes & duties calculations.
Manage collections: Allows the user to book and manage carrier collections.
Manage contracts: Allows the user to create and edit contracts, as well as upload rates.
Manage returns: Allows the user to access and use the returns solution within the platform.
Manage system: Allows the user to add message banners and create broker level manifests.
Manage users: Allows the ability to create and edit users.
Once the relevent scopes have been added, click ‘Save.’
The new user is now ready to be activated.
Activating a user
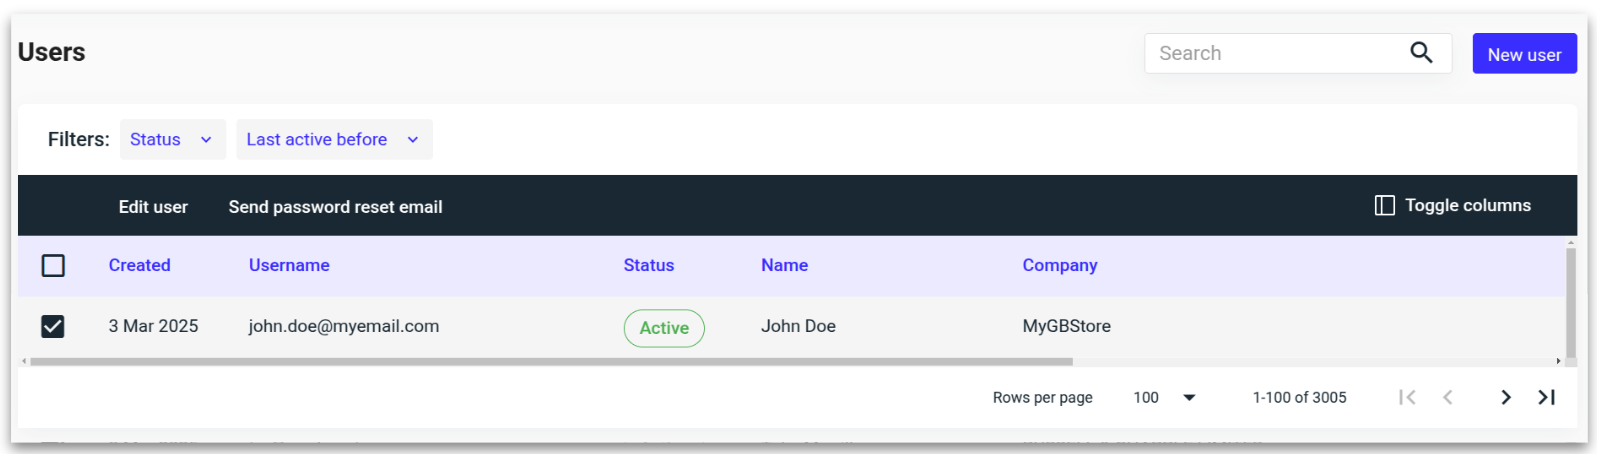
Select the user to be activated, then click ‘Send password reset email.’
Once the password is set, the user status will update from Pending to Active. The user has 24 hours to complete this step; if they don’t, simply resend the password reset email.
Deactivating a user
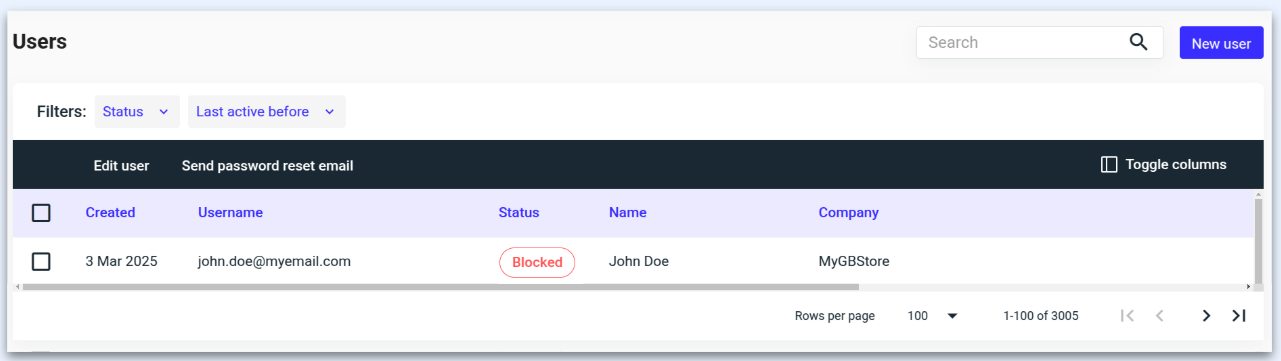
You can suspend an account by changing its user status from 'Active' to 'Blocked.'
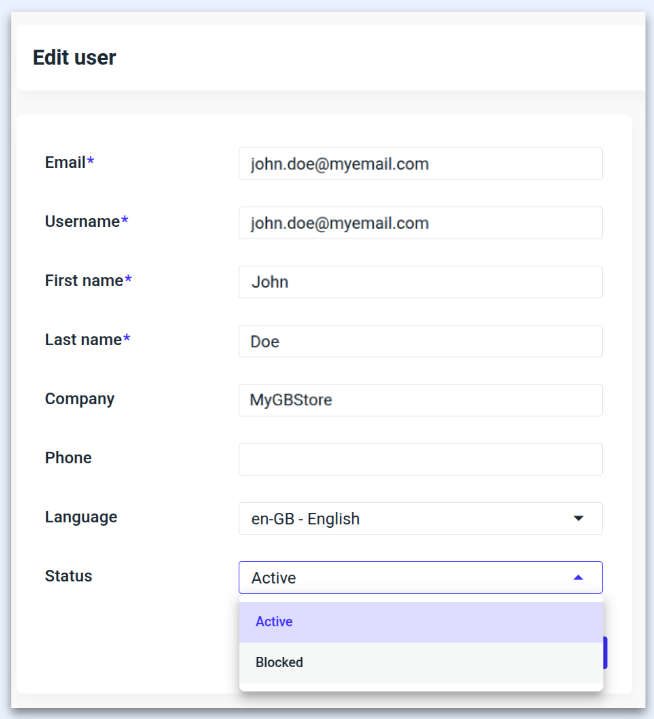
The user will now be reflected as blocked in the overview.
Two Factor Authentication
Add an extra layer of security by enabling 2FA.
Click on the avatar towards the top right hand side of the platform, followed by 'Account.'
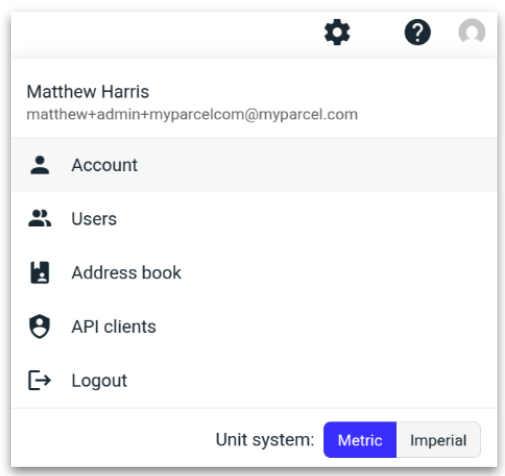
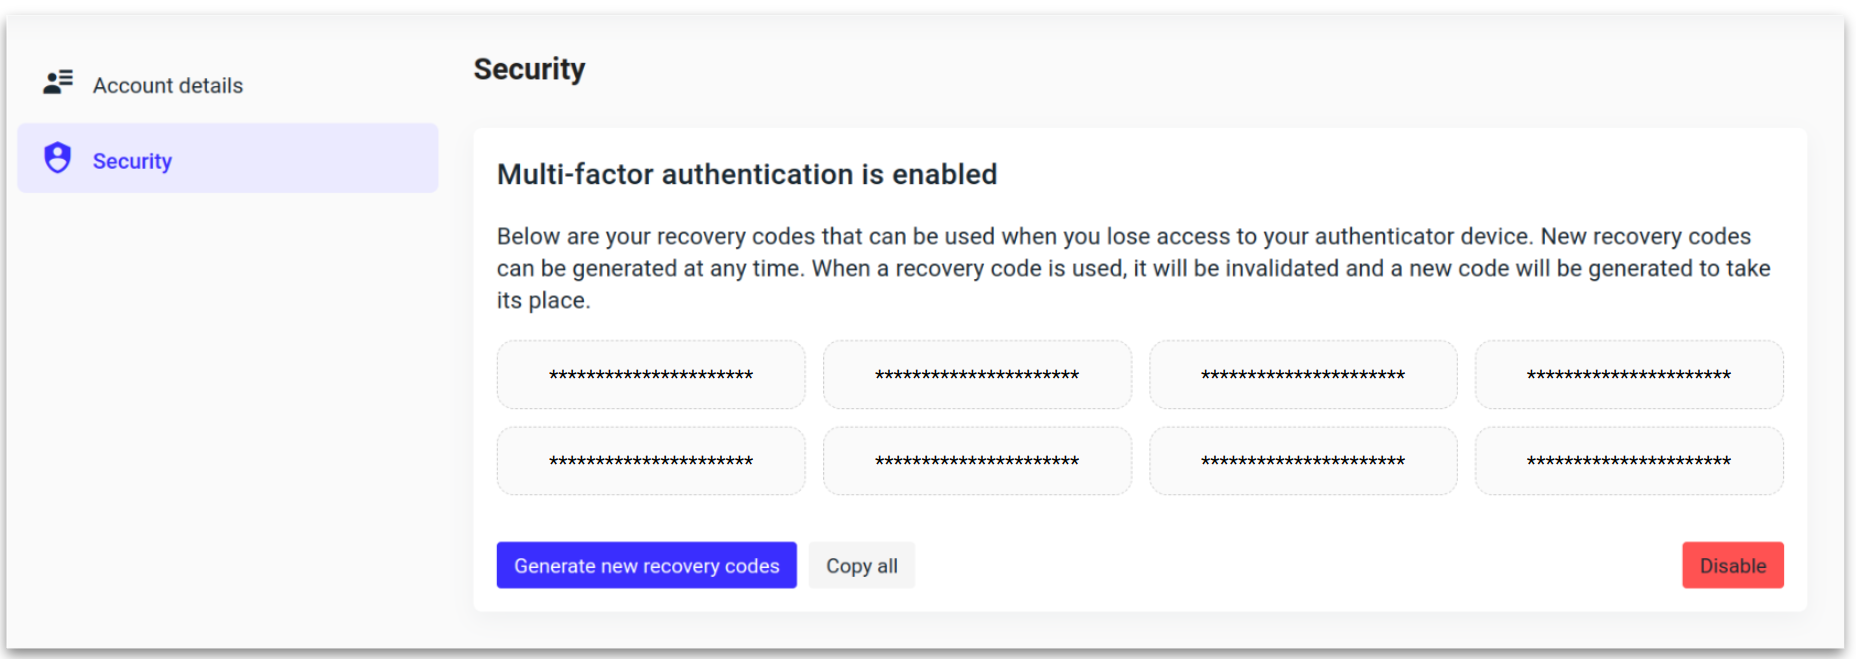
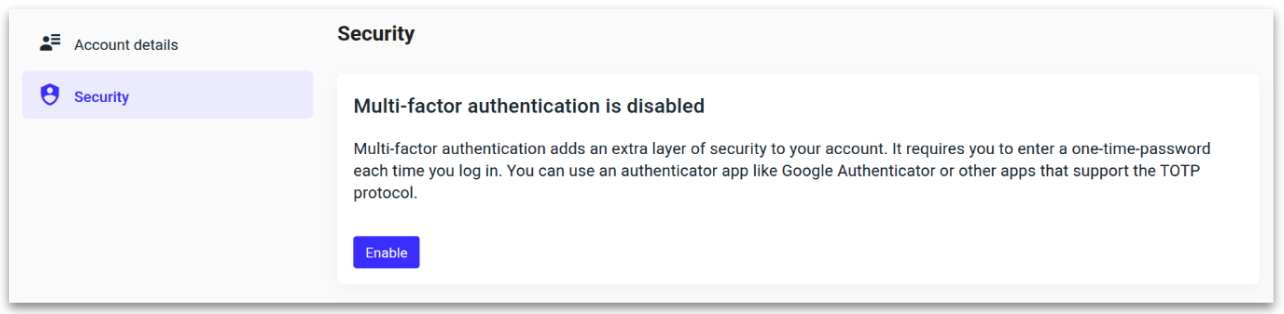
Select the Security setting on the left-hand side and click ‘Enable.’
Scan the QR code with your authenticator app or copy the ‘secret’ to manually connect.
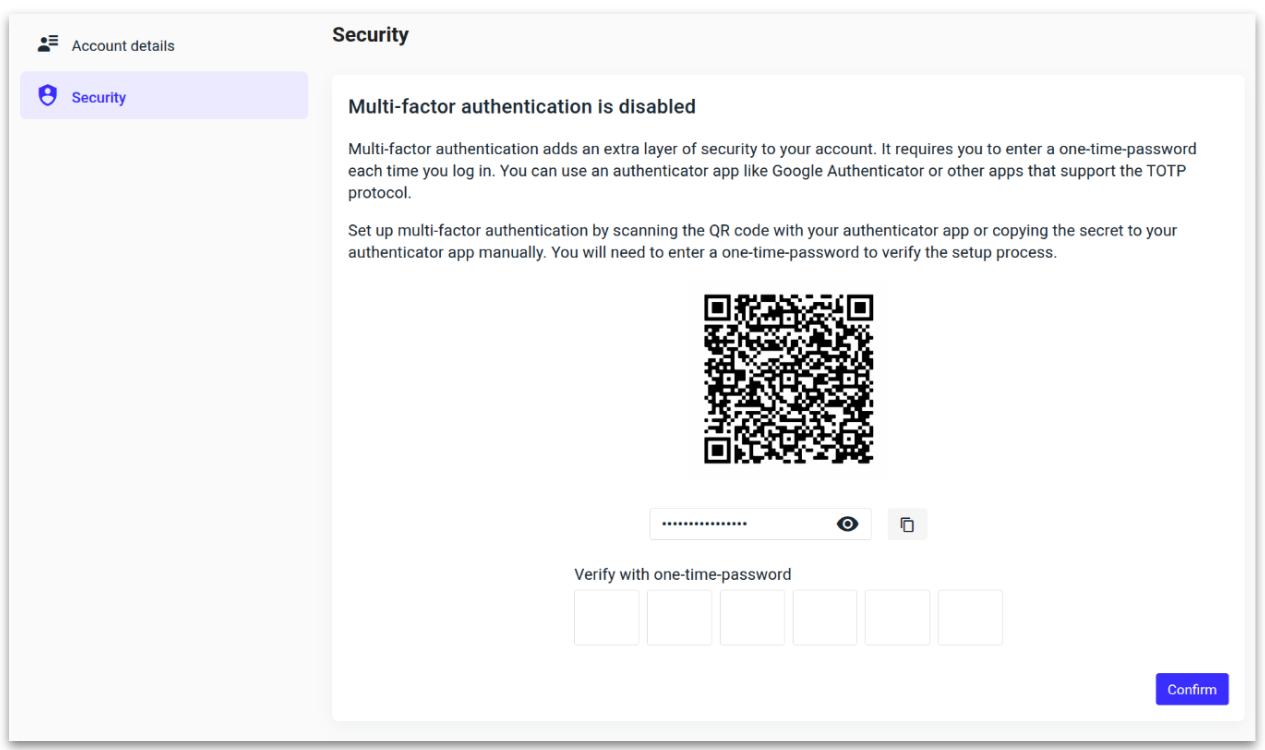
2FA is now enabled with recovery codes.