.png)
Collections
Some carriers provide collection services that you can schedule, enabling your carrier to pick up your shipments at a designated time and location. These collections can be scheduled on an ad-hoc basis or as recurring services, arranged directly with your carrier.
Collections
Tracked collections, which can be coordinated with carriers via the MyParcel.com platform, require that all shipments belong to the carrier assigned to the Tracked collection.
Untracked collections serve both administrative purposes or where a third party is responsible for collecting your shipments. Additionally, untracked collections have the flexibility to include shipments from multiple carriers.
Creating a collection
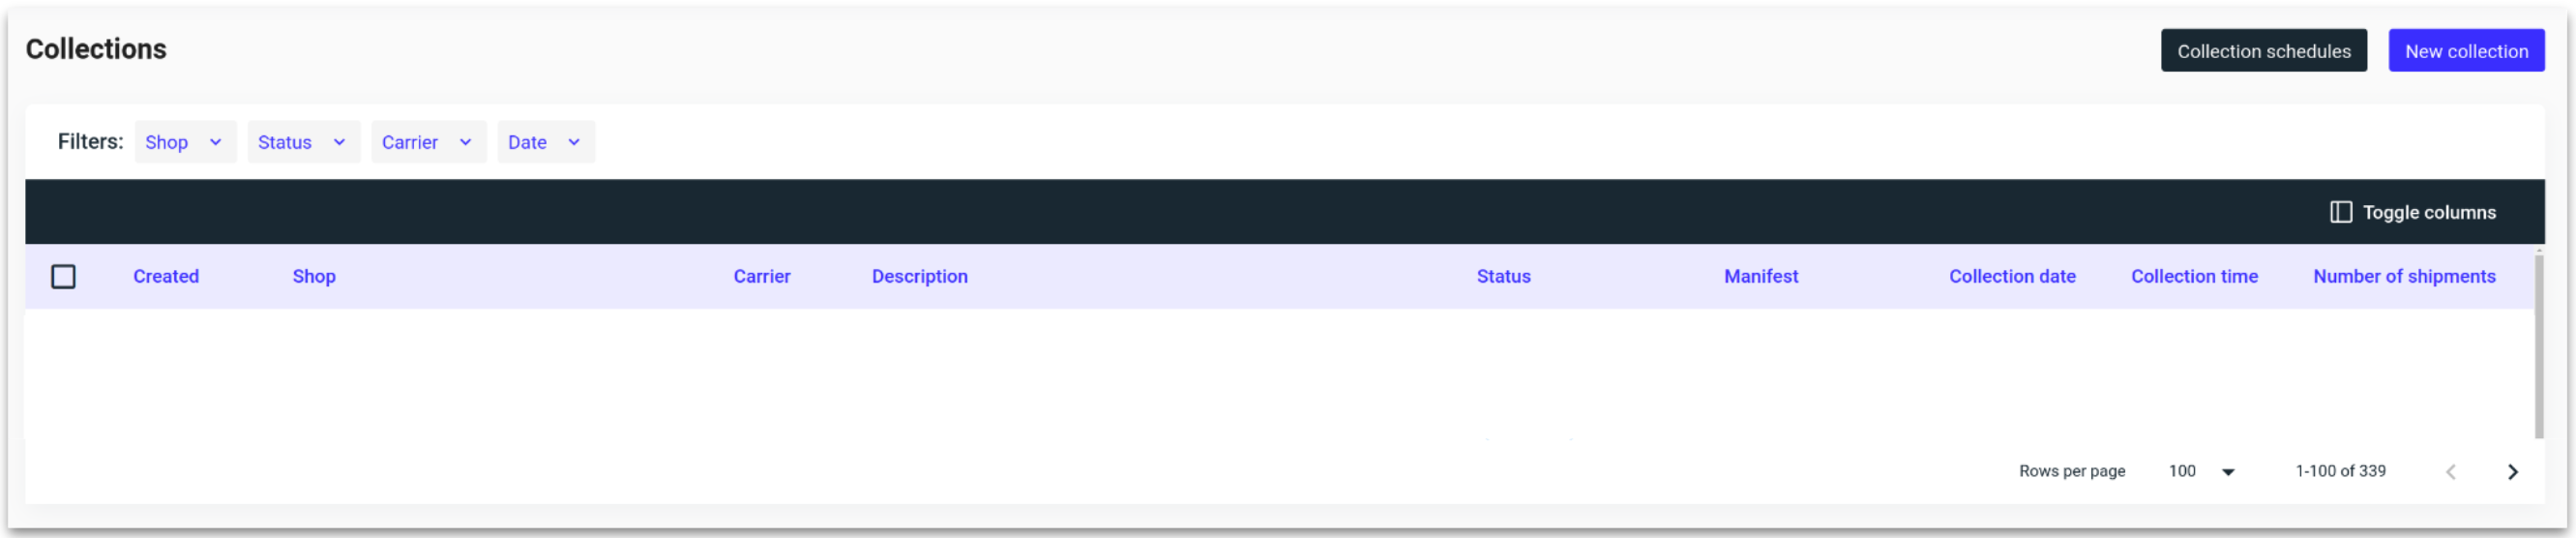
Navigate to ‘Collections’ at the top of the MyParcel.com portal.
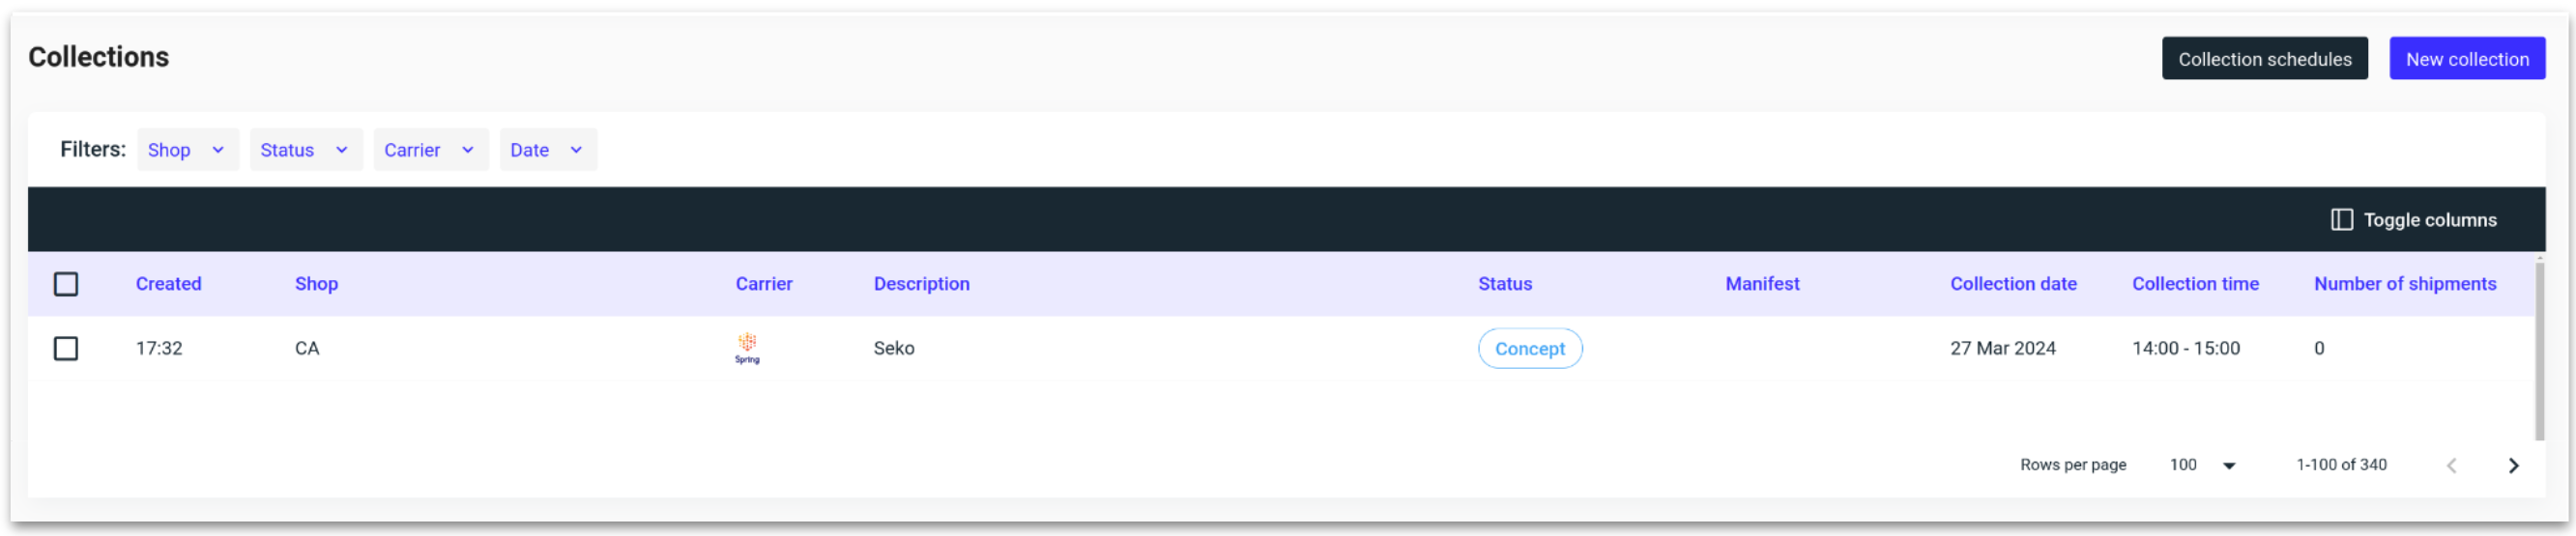
Once on the Collections page click the “New collection” button towards the top right of the page.
Select the shop where the collection will take place and then click “Next step.”
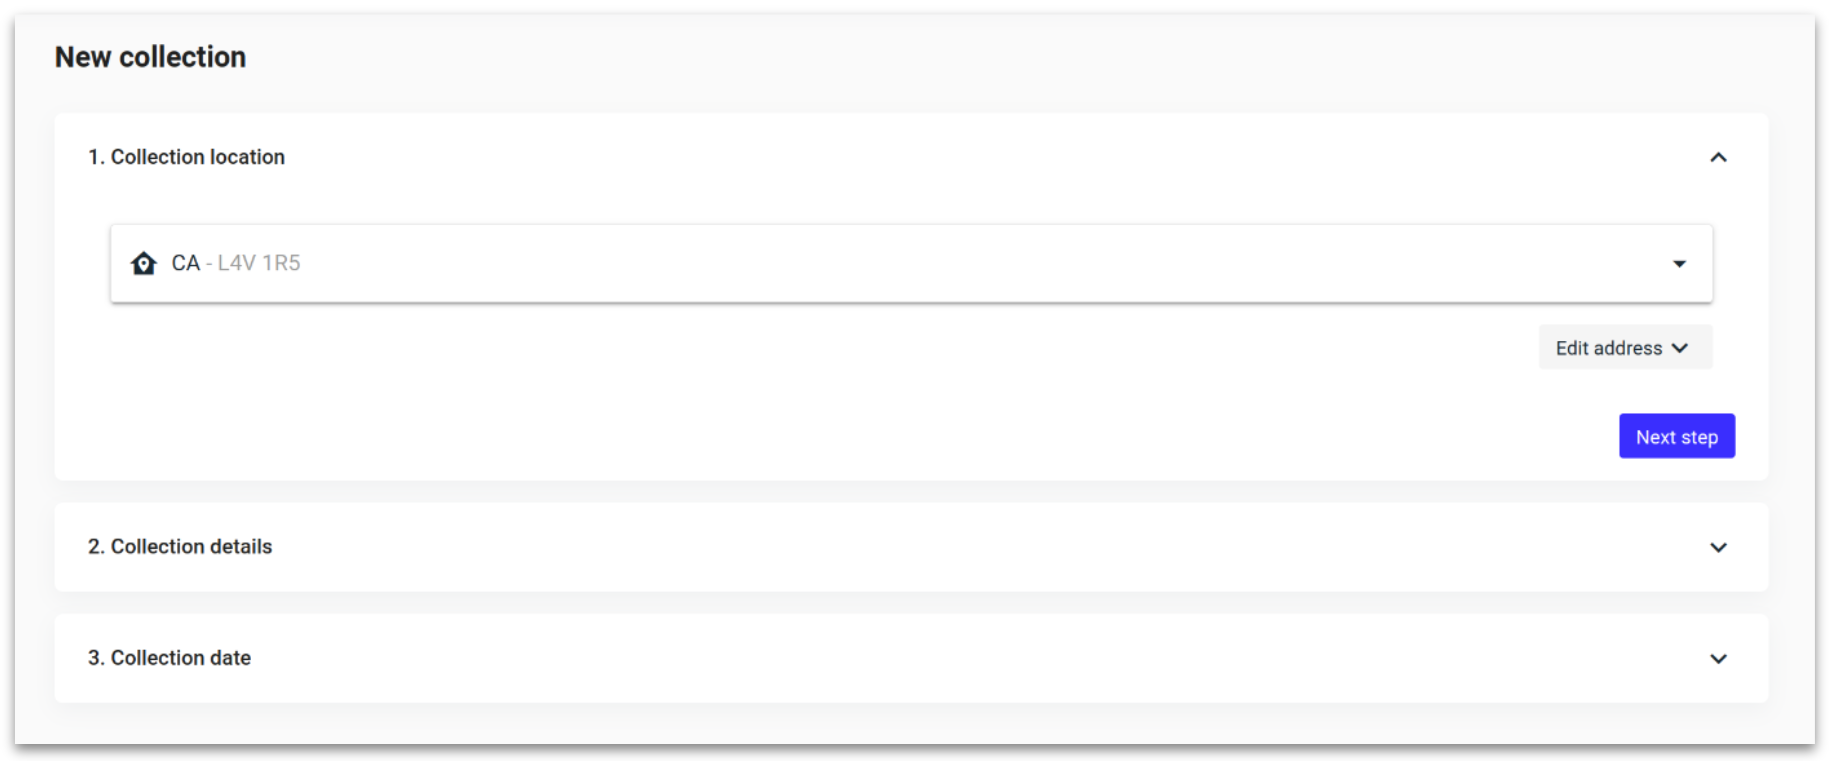
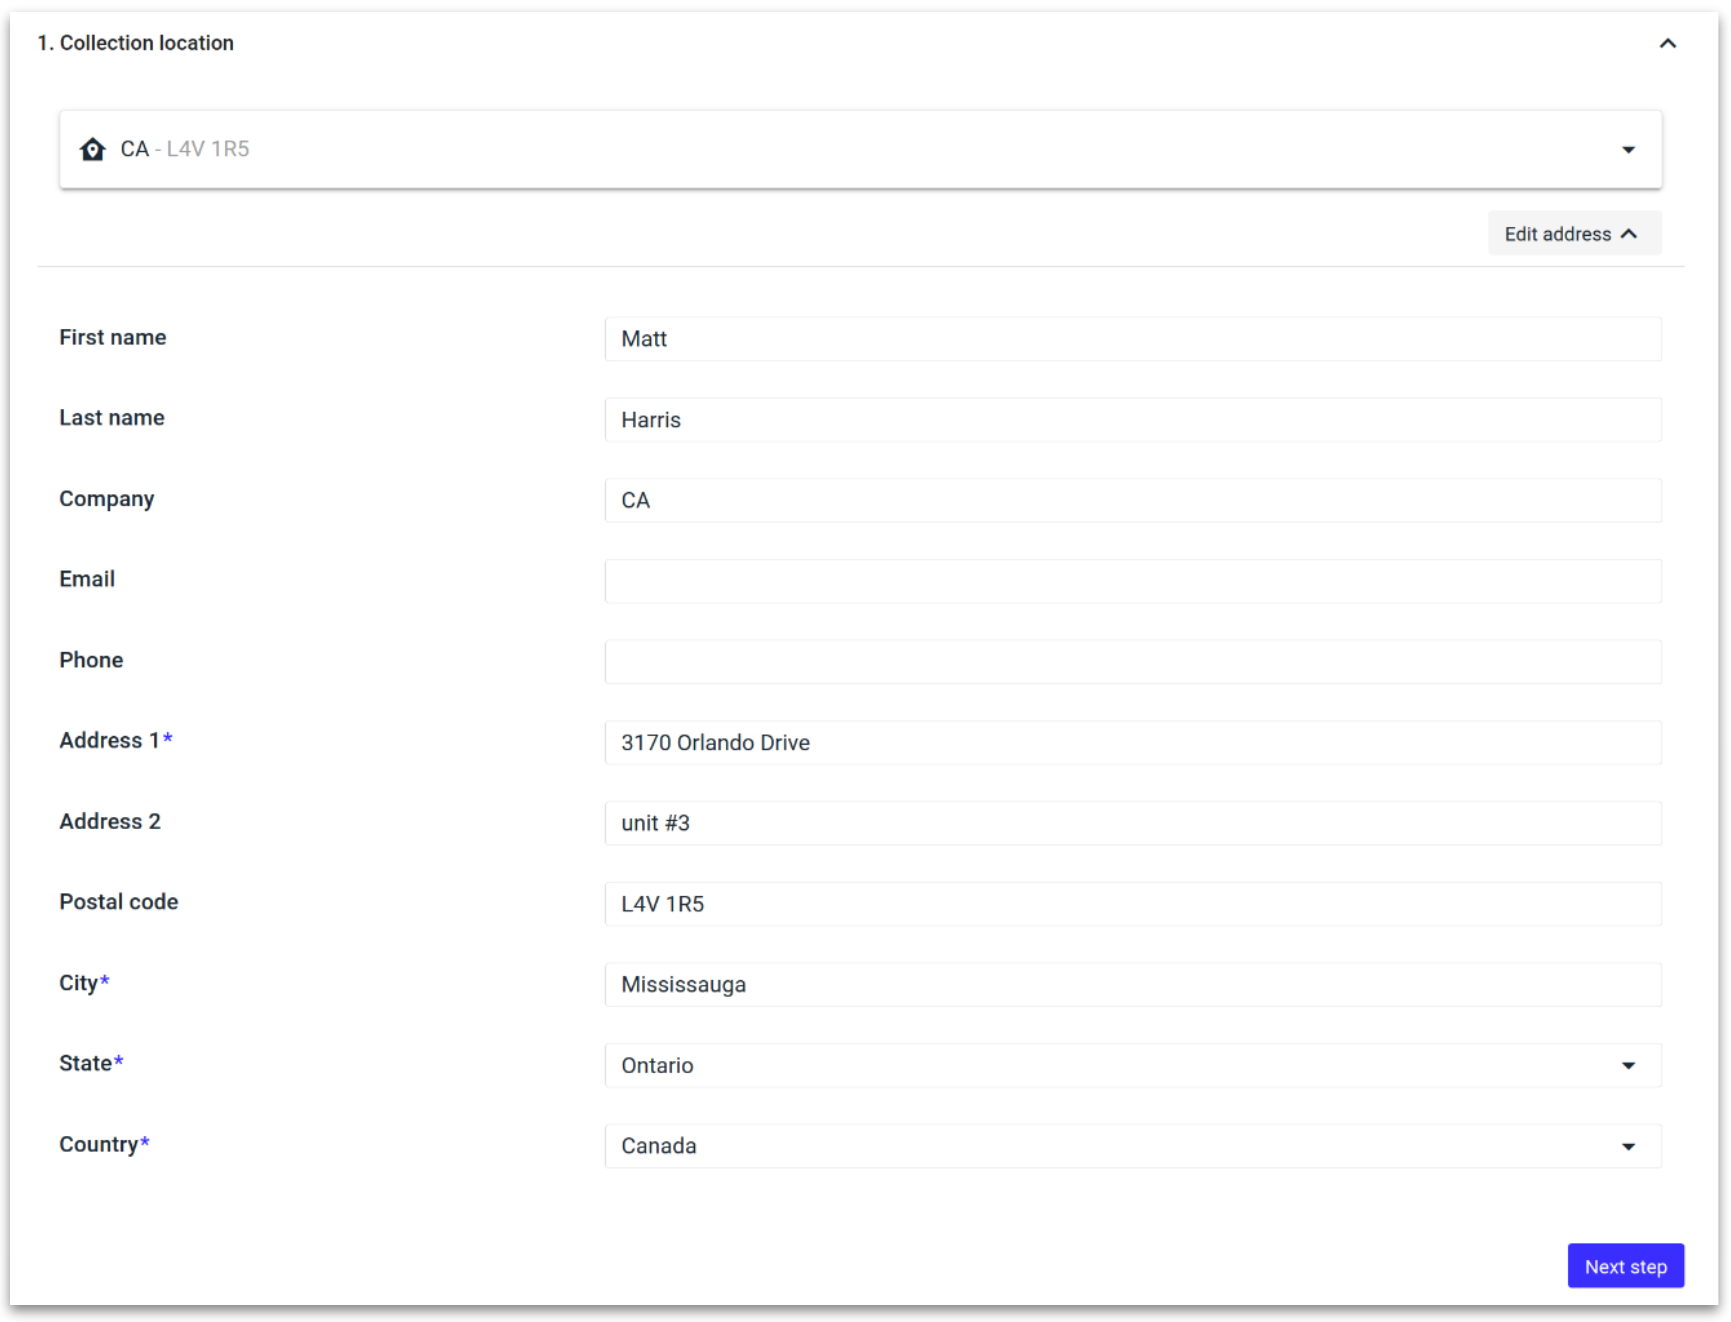
When dealing with third-party collection addresses, click “Edit address” in step 1 and enter the desired collection location.
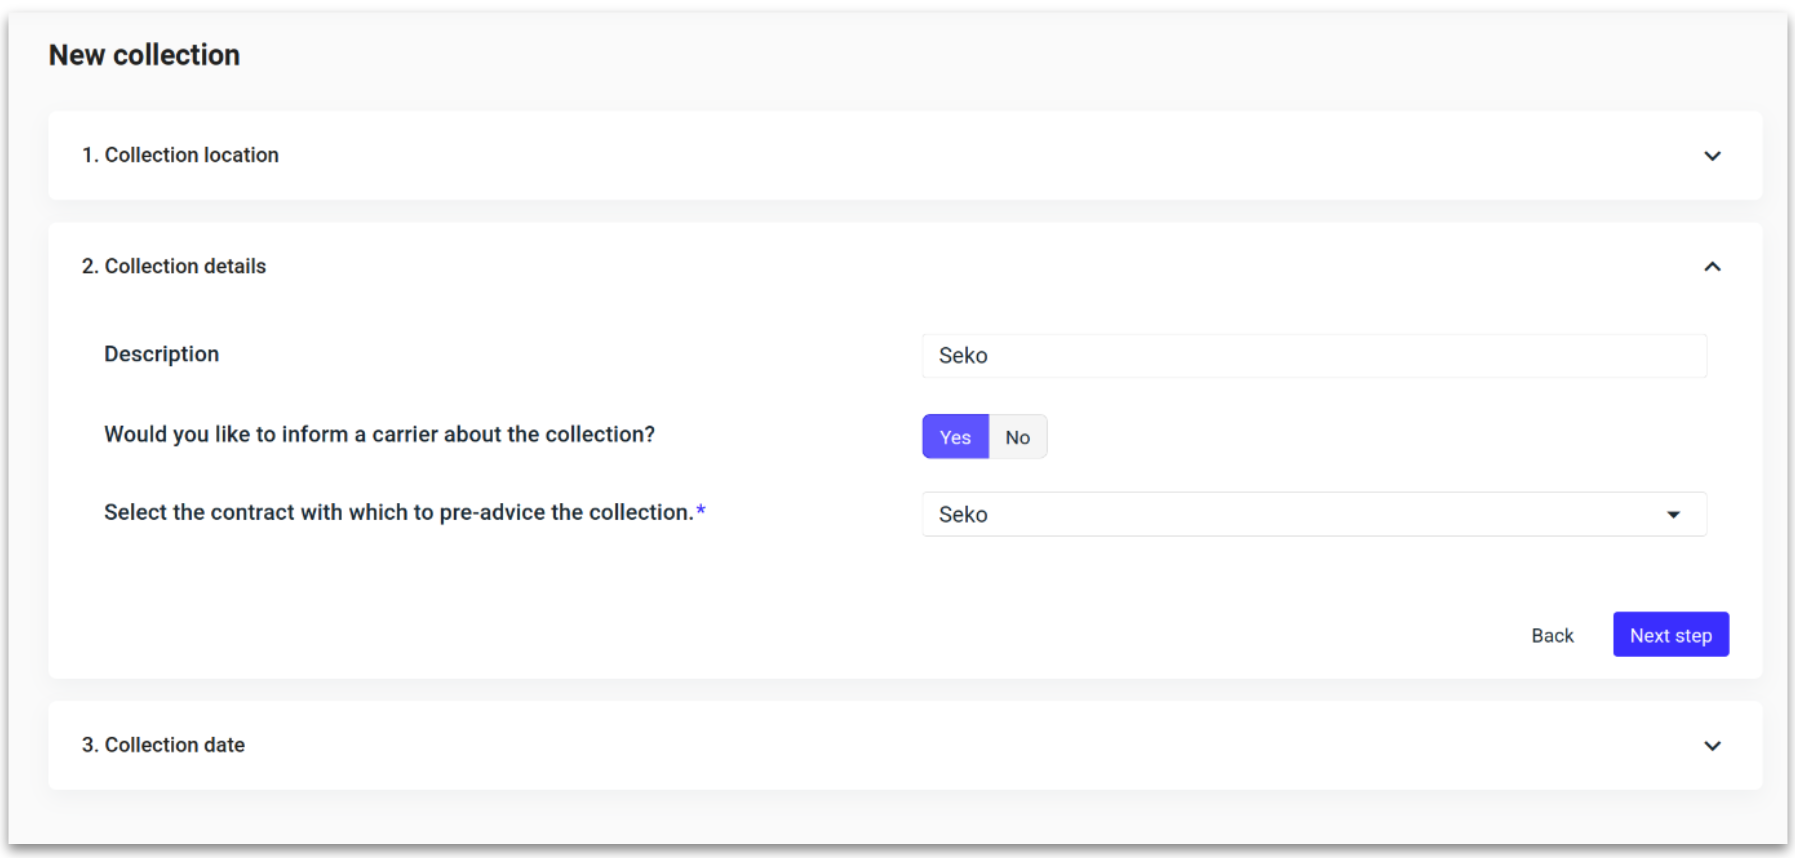
Provide the collection details:
Give the collection a description.
Select if you would you like to inform a carrier about the collection.
Selecting “No” will remove the contract selector. Click “Next step” to continue.
Choose the necessary contract for the collection, and then click “Next step.”
Choose your preferred collection date and time window, and then click “Save.”
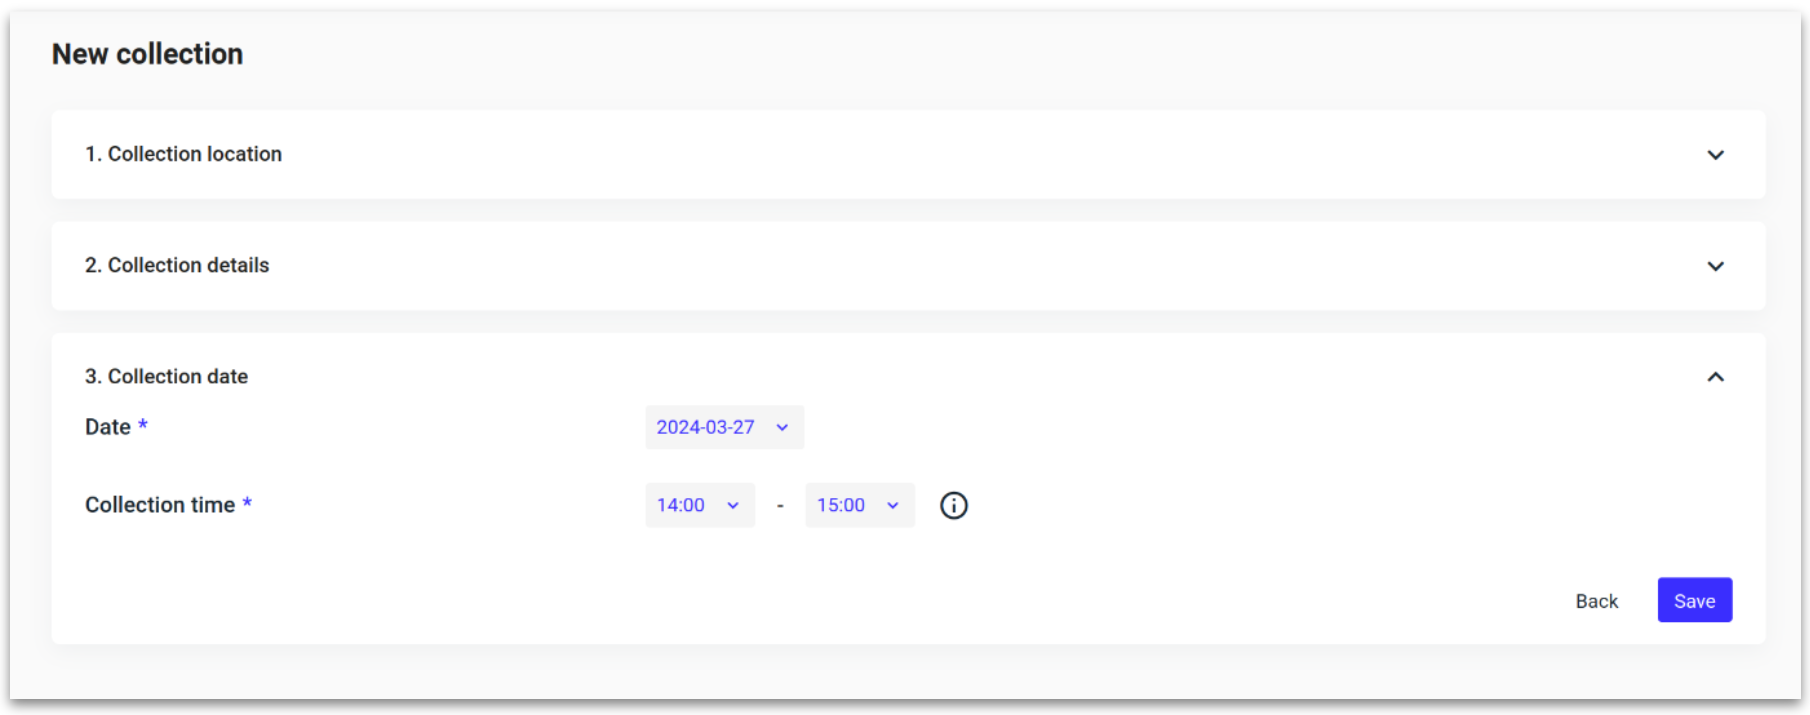
The collection has been saved as a Concept. Assign shipments before pre-advising the carrier can occur.
Assigning shipments to a collection
Go to the shipment overview, select the shipments requiring collection, and then select the “Add to collection” option now displayed above the shipments.

A pop-up window will display all the available collections. Choose the appropriate one for the selected shipments, and then click “Save.”
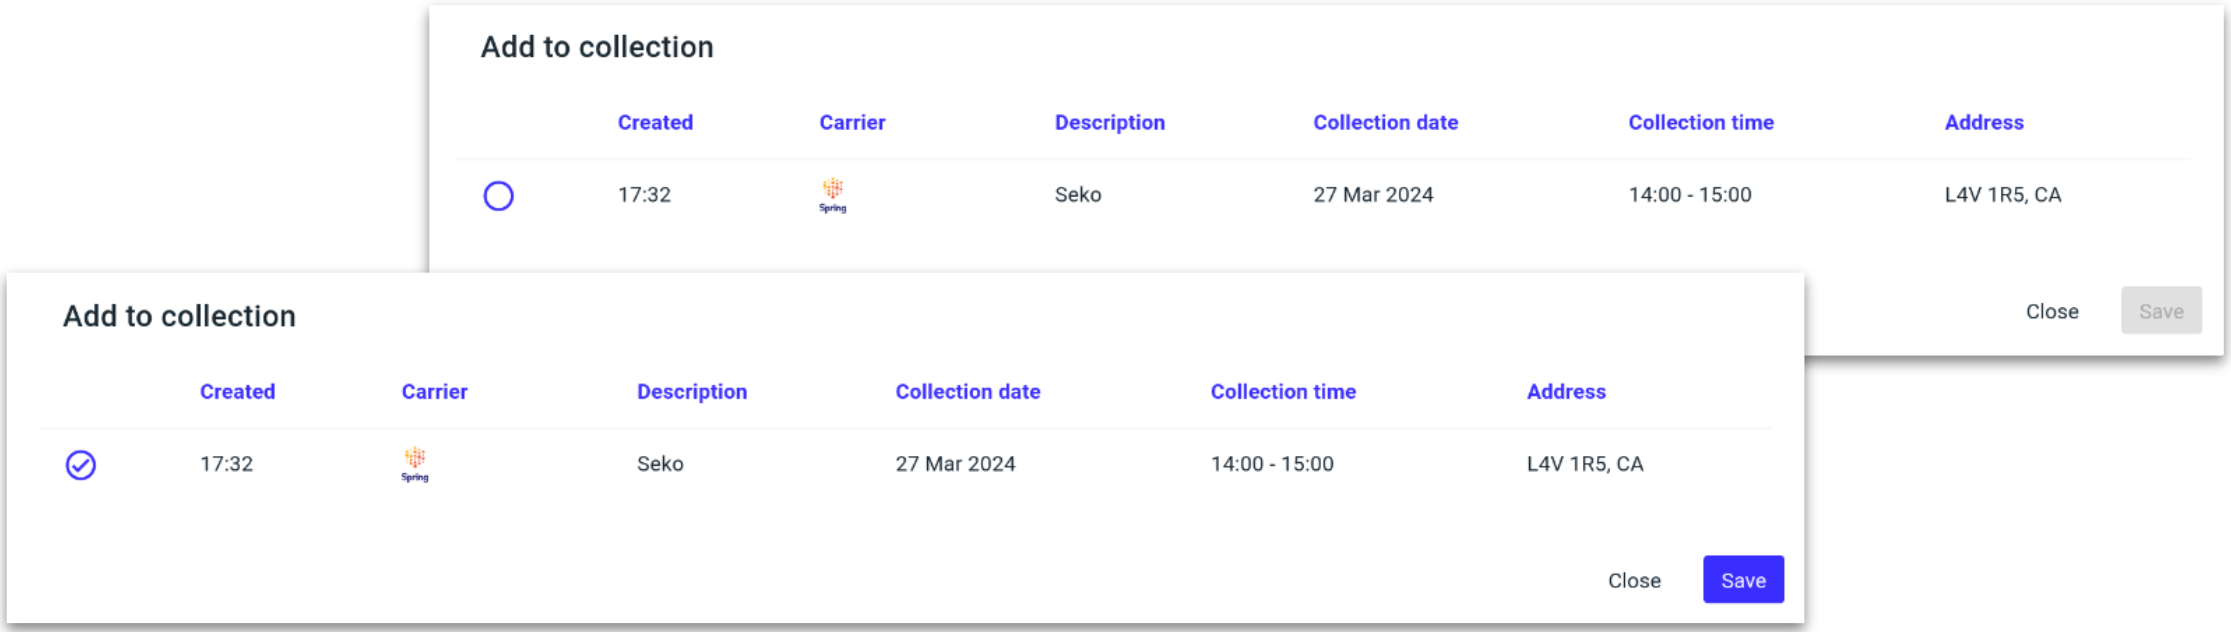
Now that the collection includes shipments, it is prepared for pre-advising to the carrier.

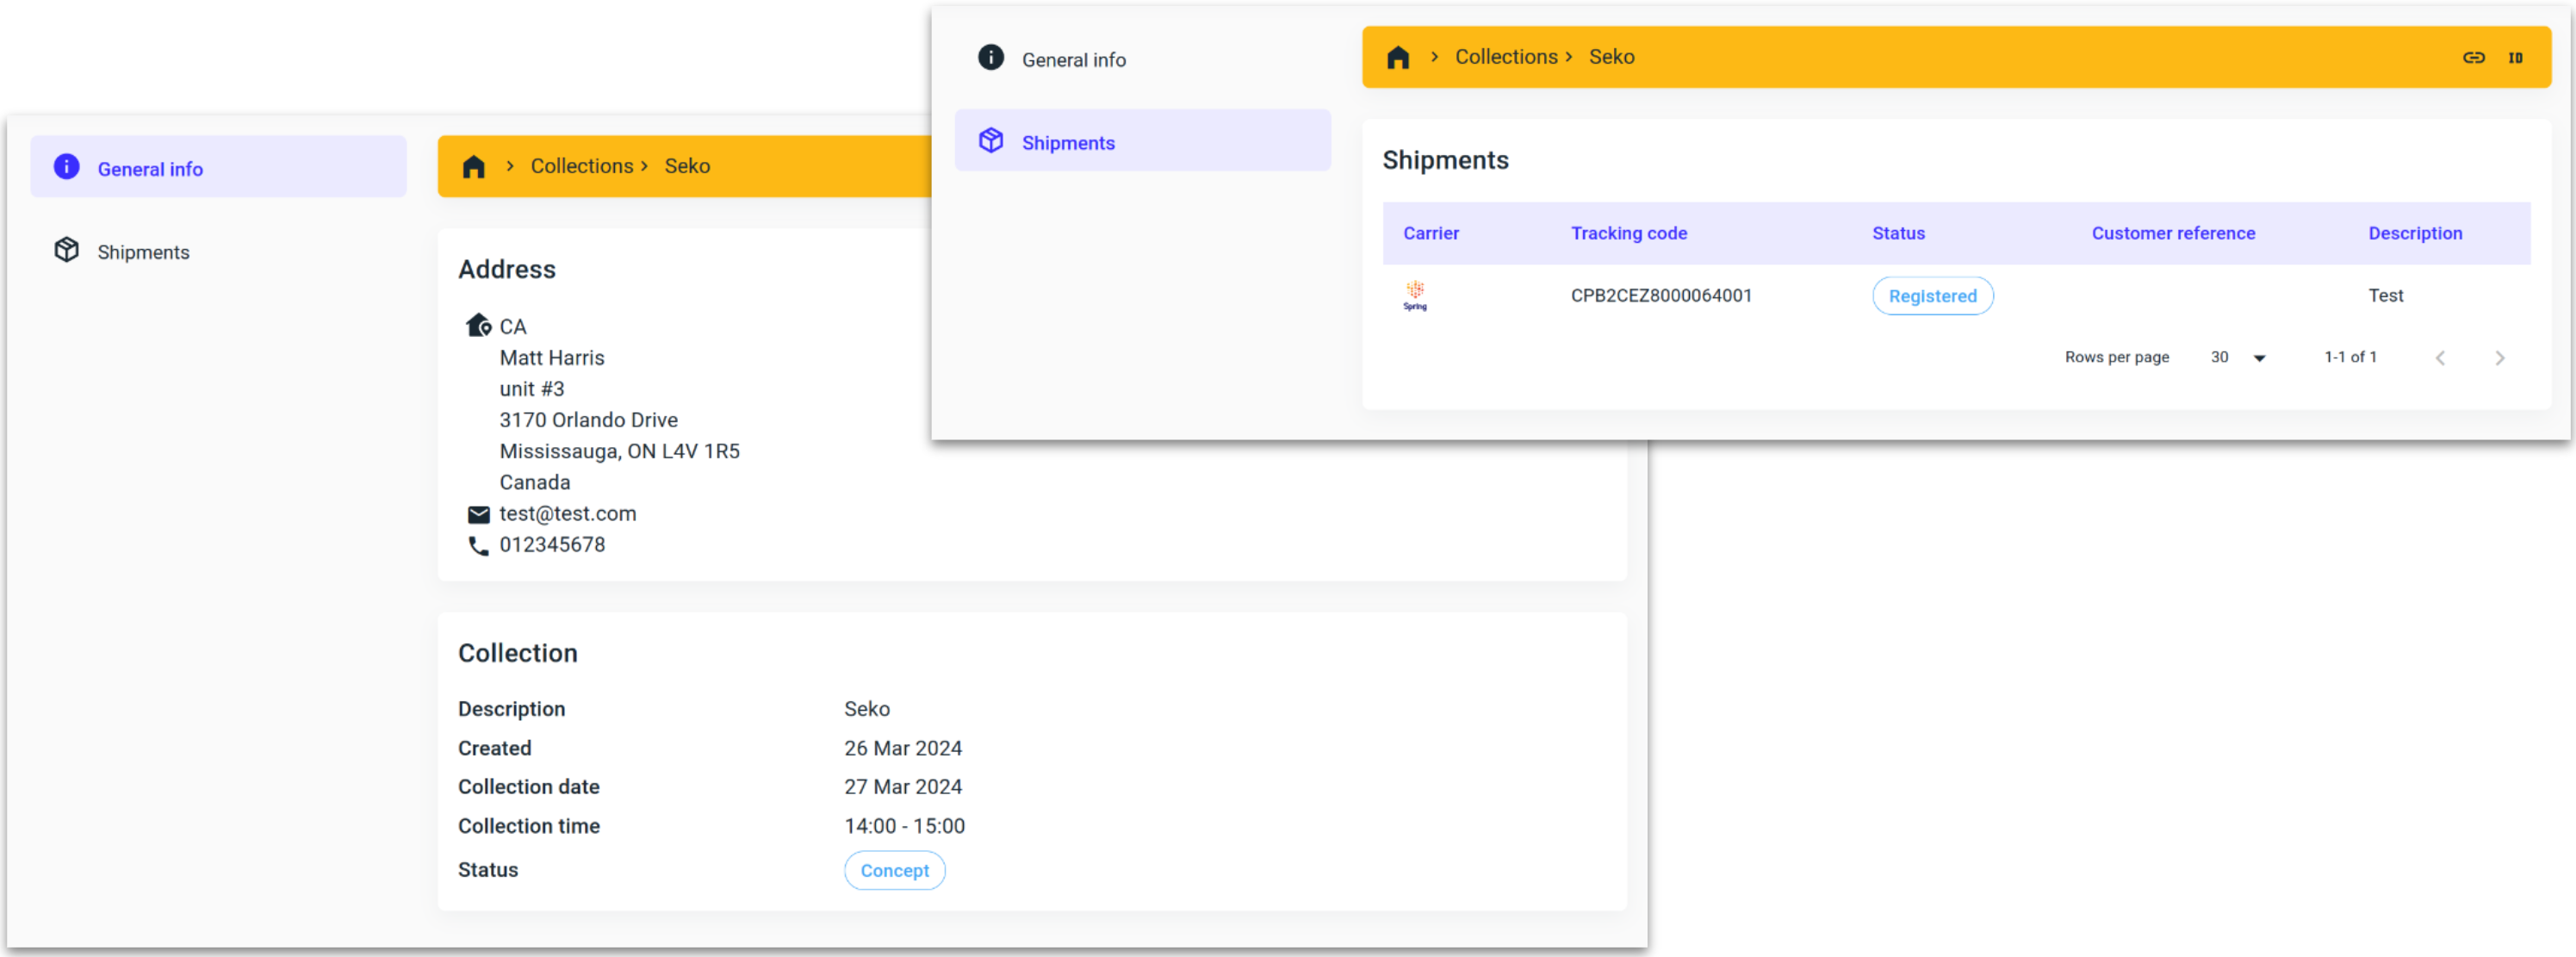
By clicking on the concept collection, you can view the collection details and the shipments that have been assigned to it.
Pre-advising the carrier & generating a manifest
First select the concept collection, and then click “Register,” which is now visible above the collections table.

The collection has been successfully pre-advised to the selected carrier and will be displayed as Registered.

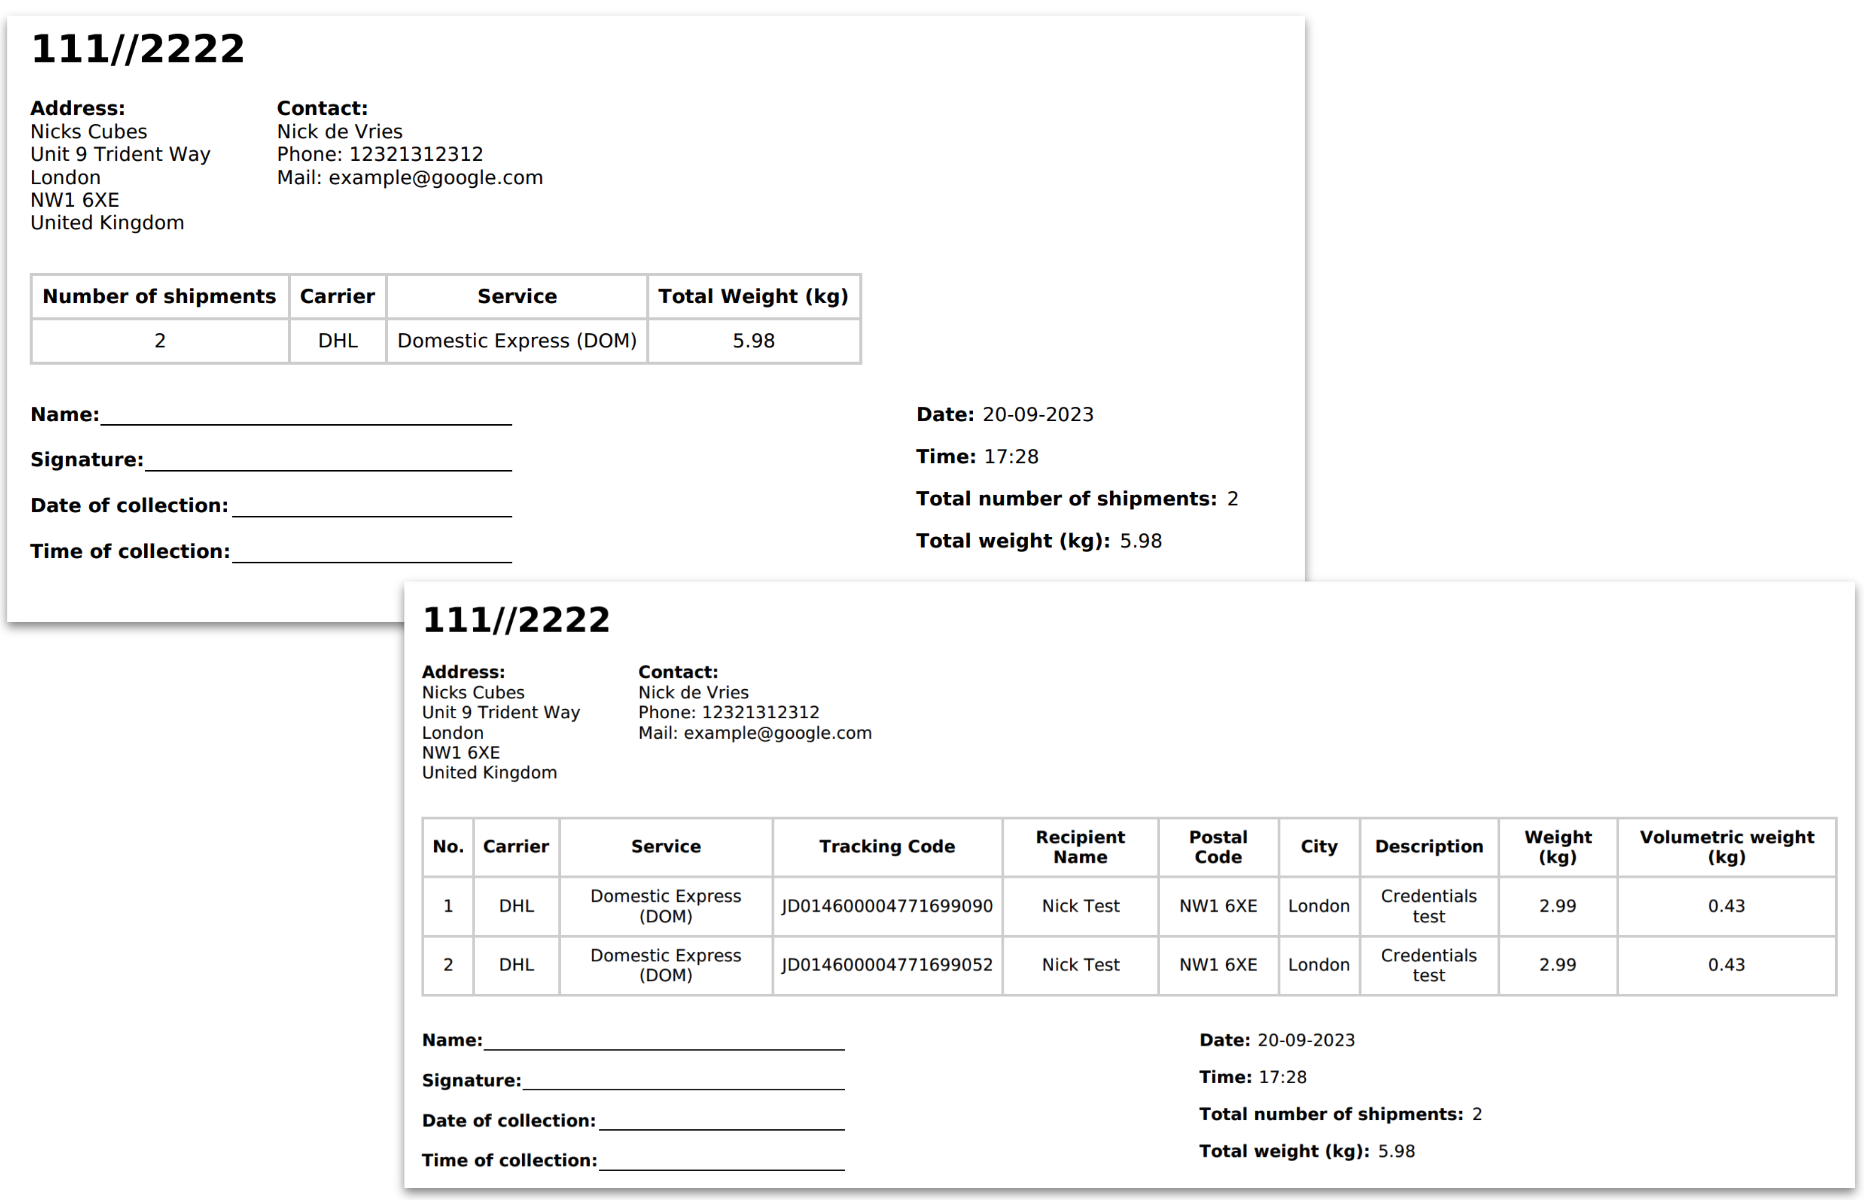
To generate a manifest, choose the required collection, and then click on “Create manifest.”

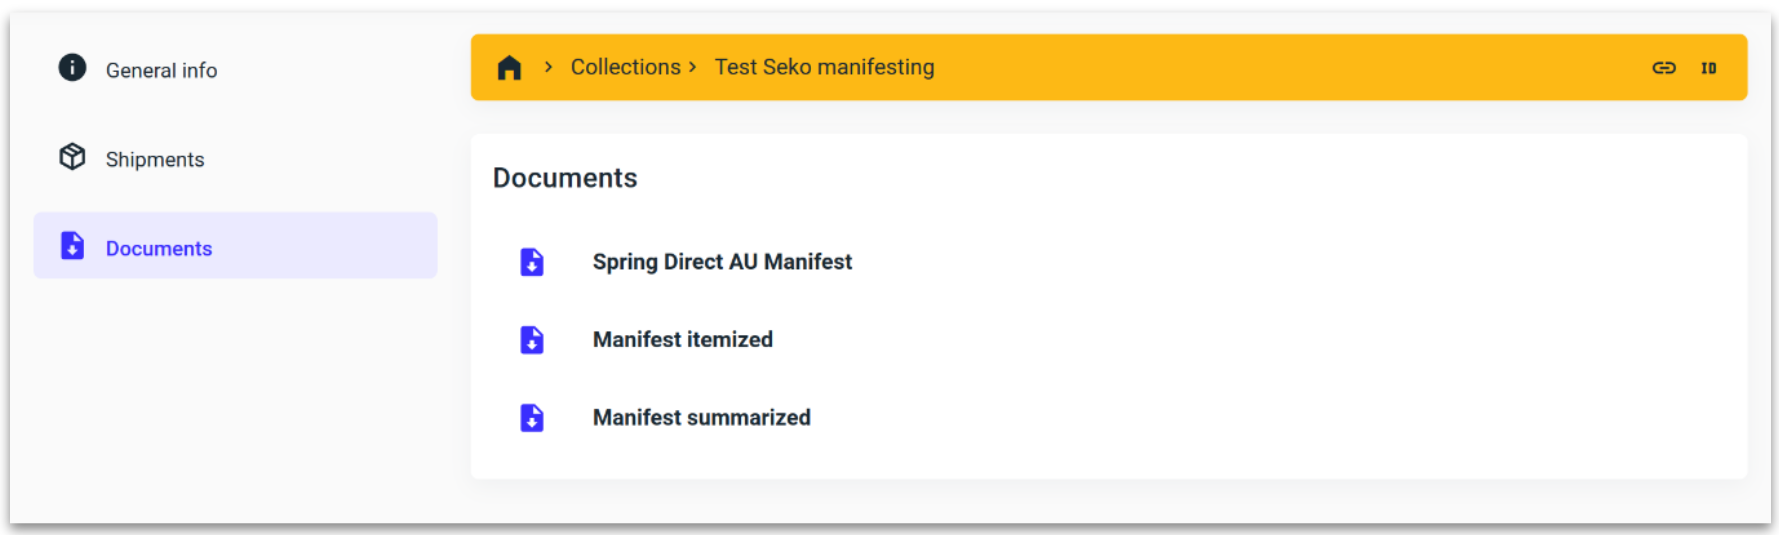
There 3 different types of manifests.
Itemized.
Parcel level information.
Summarized.
Carrier level information.
Carrier specific.
For carriers that mandate the use of their own manifests.

Clicking on the registered collection will now show an additional Document tab.