.png)
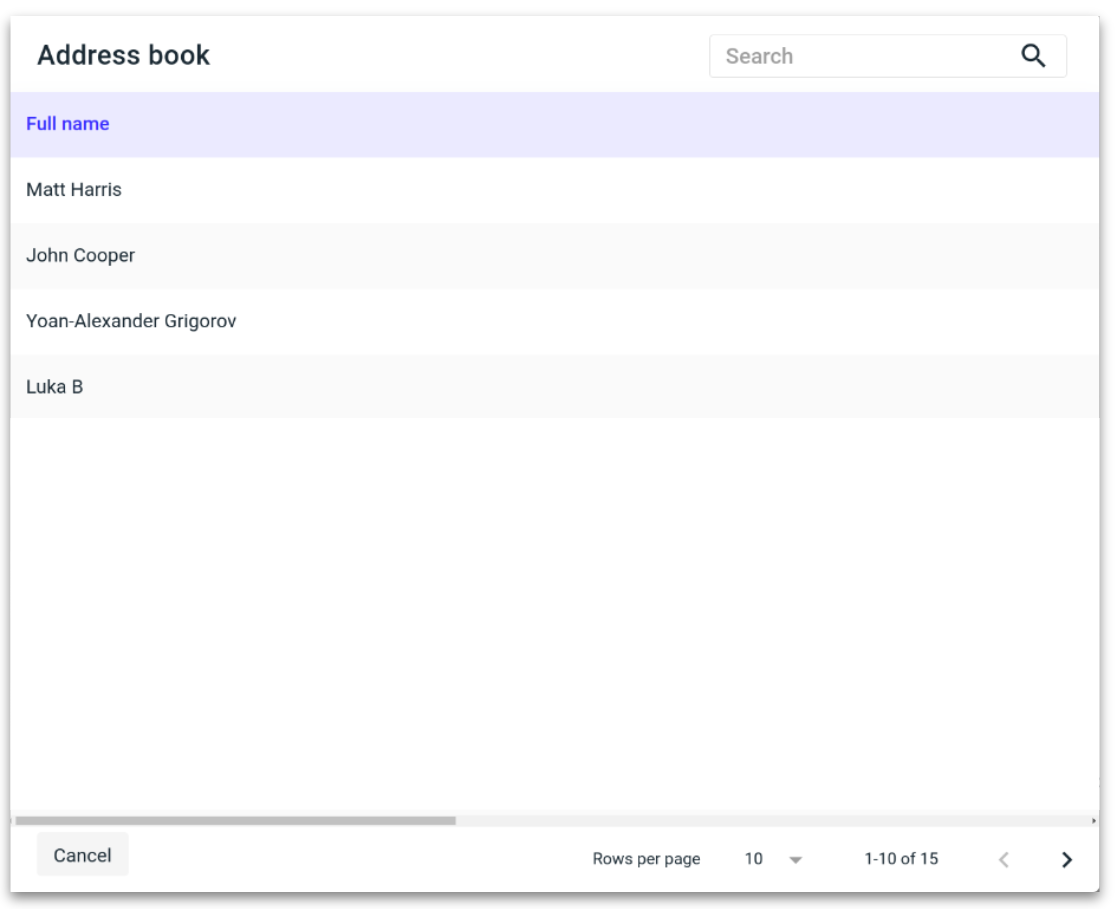
Address Book
Use the Address book to easily add or save frequently used addresses.
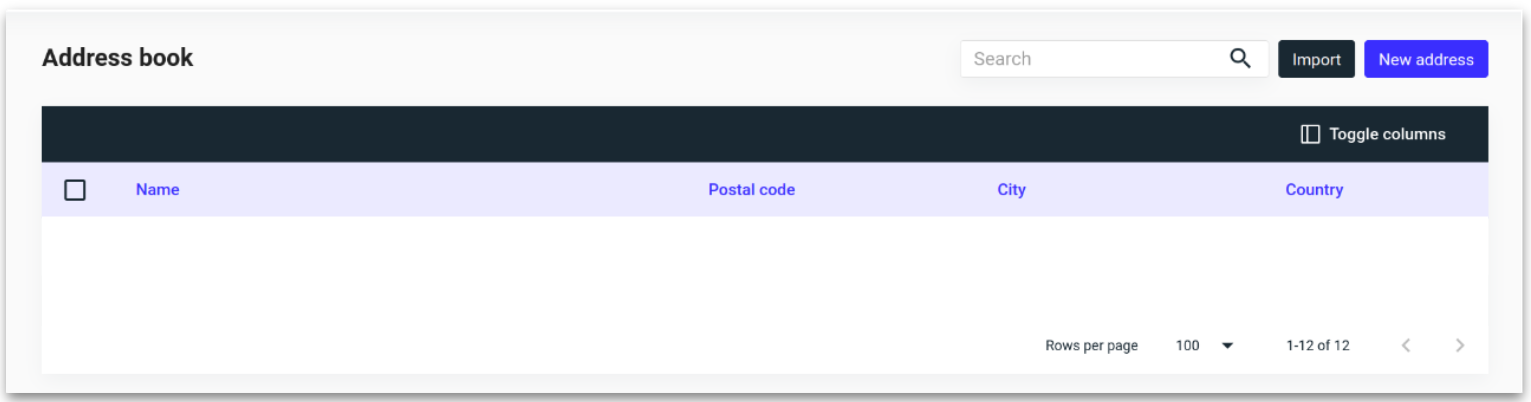
Address book
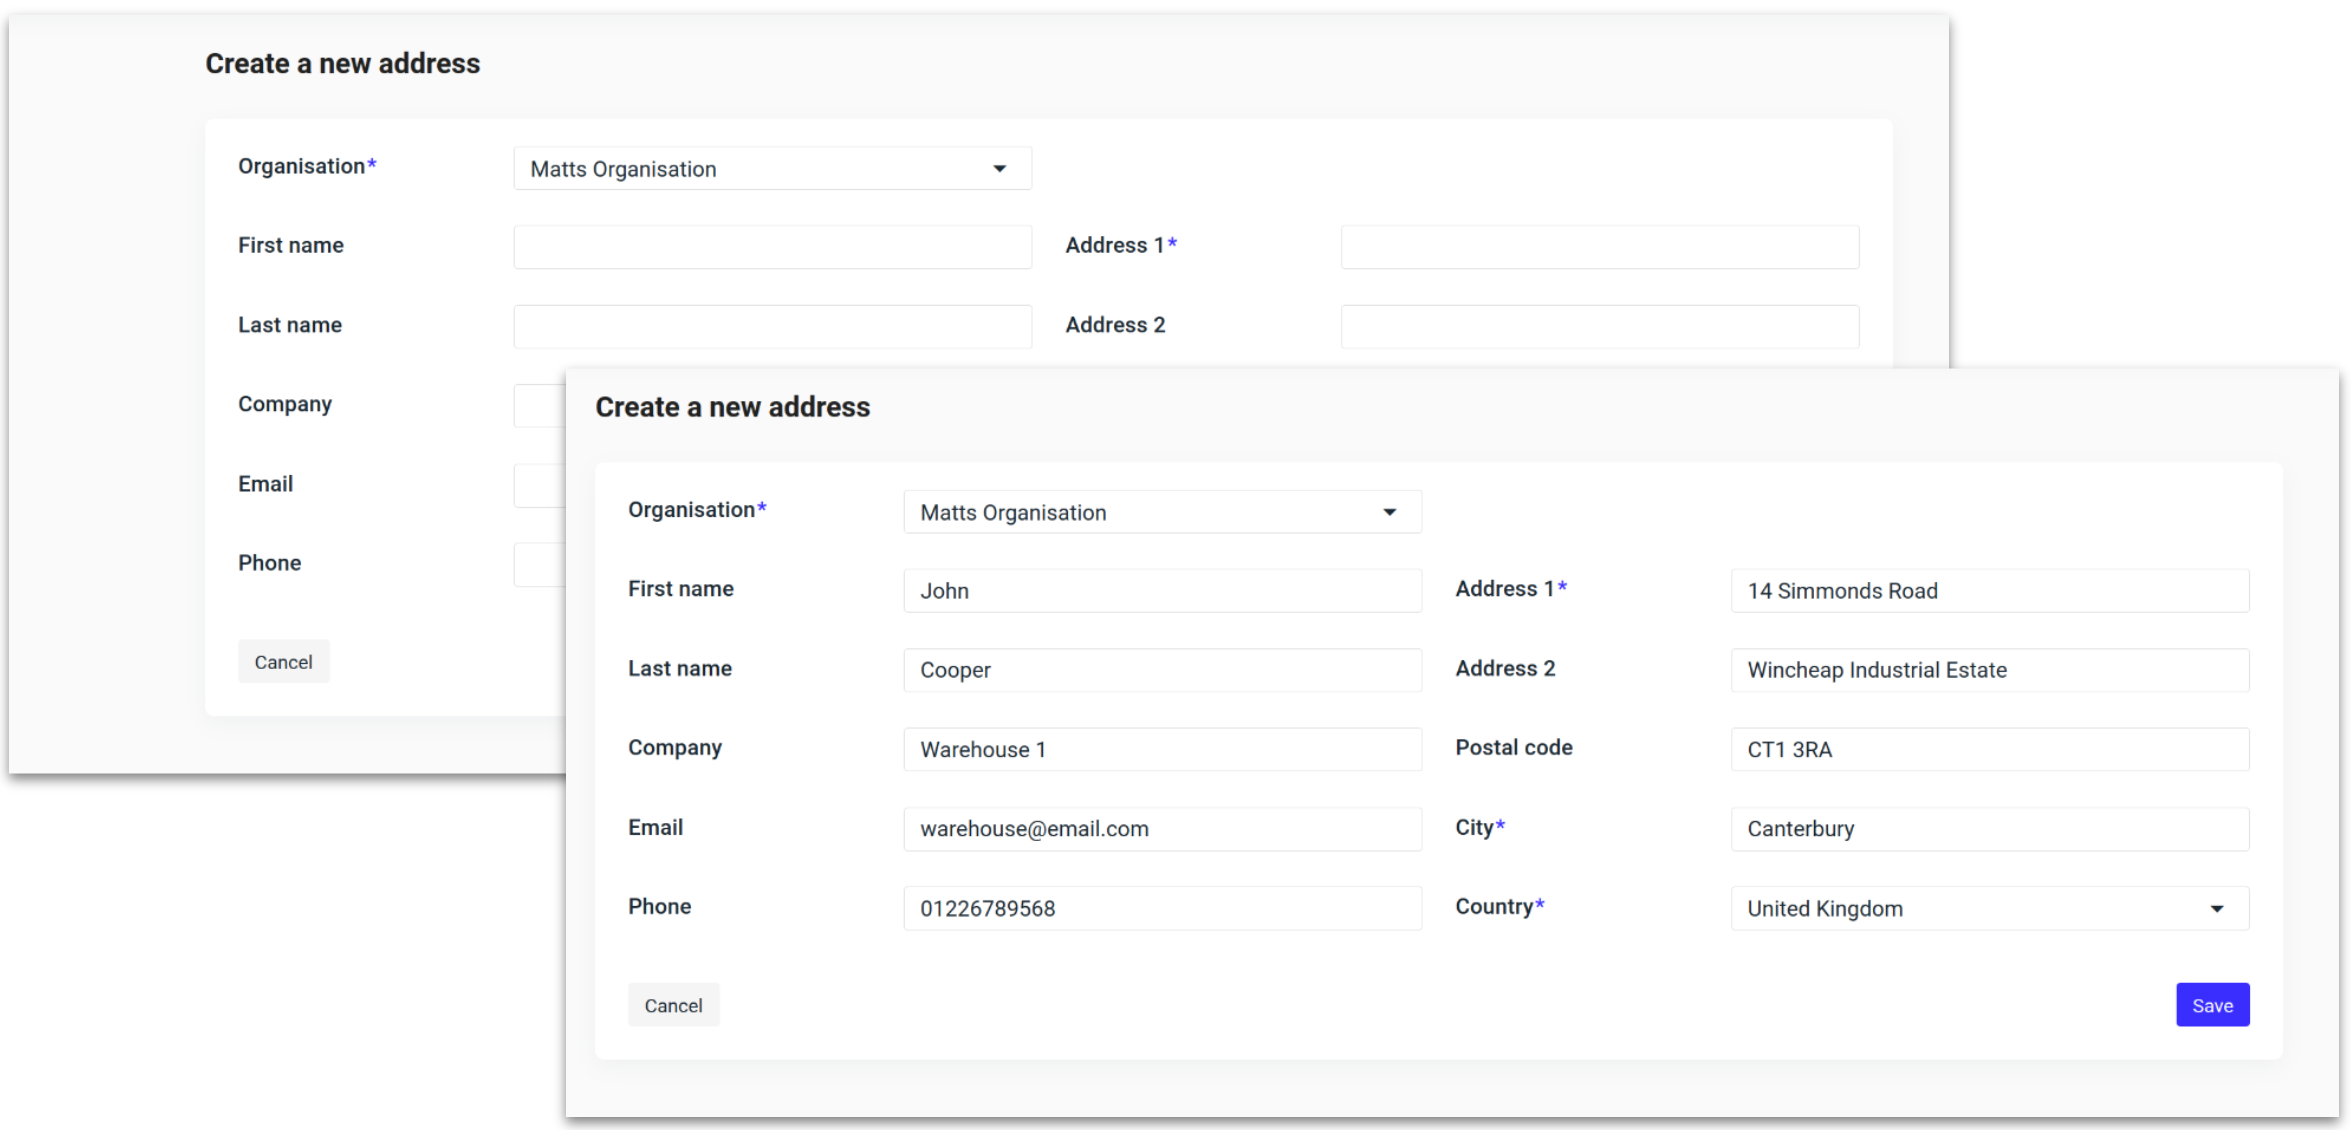
Create a new contact
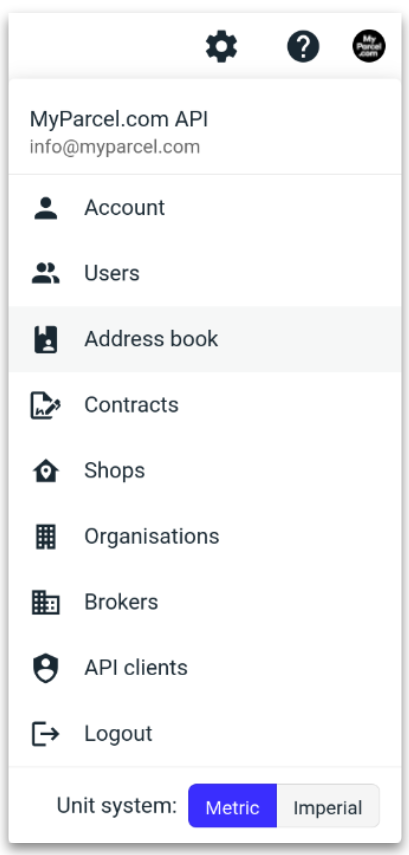
From the shipments overview, click on the avatar towards the top right hand side of the page.
Select “Address book” from the menu.
Click on the “New address” button towards the top right.
Select the organisation that the contact belongs to.
Fill in the contact details & click “Save.”
The newly saved address will now be shown in the overview.

Saving a contact
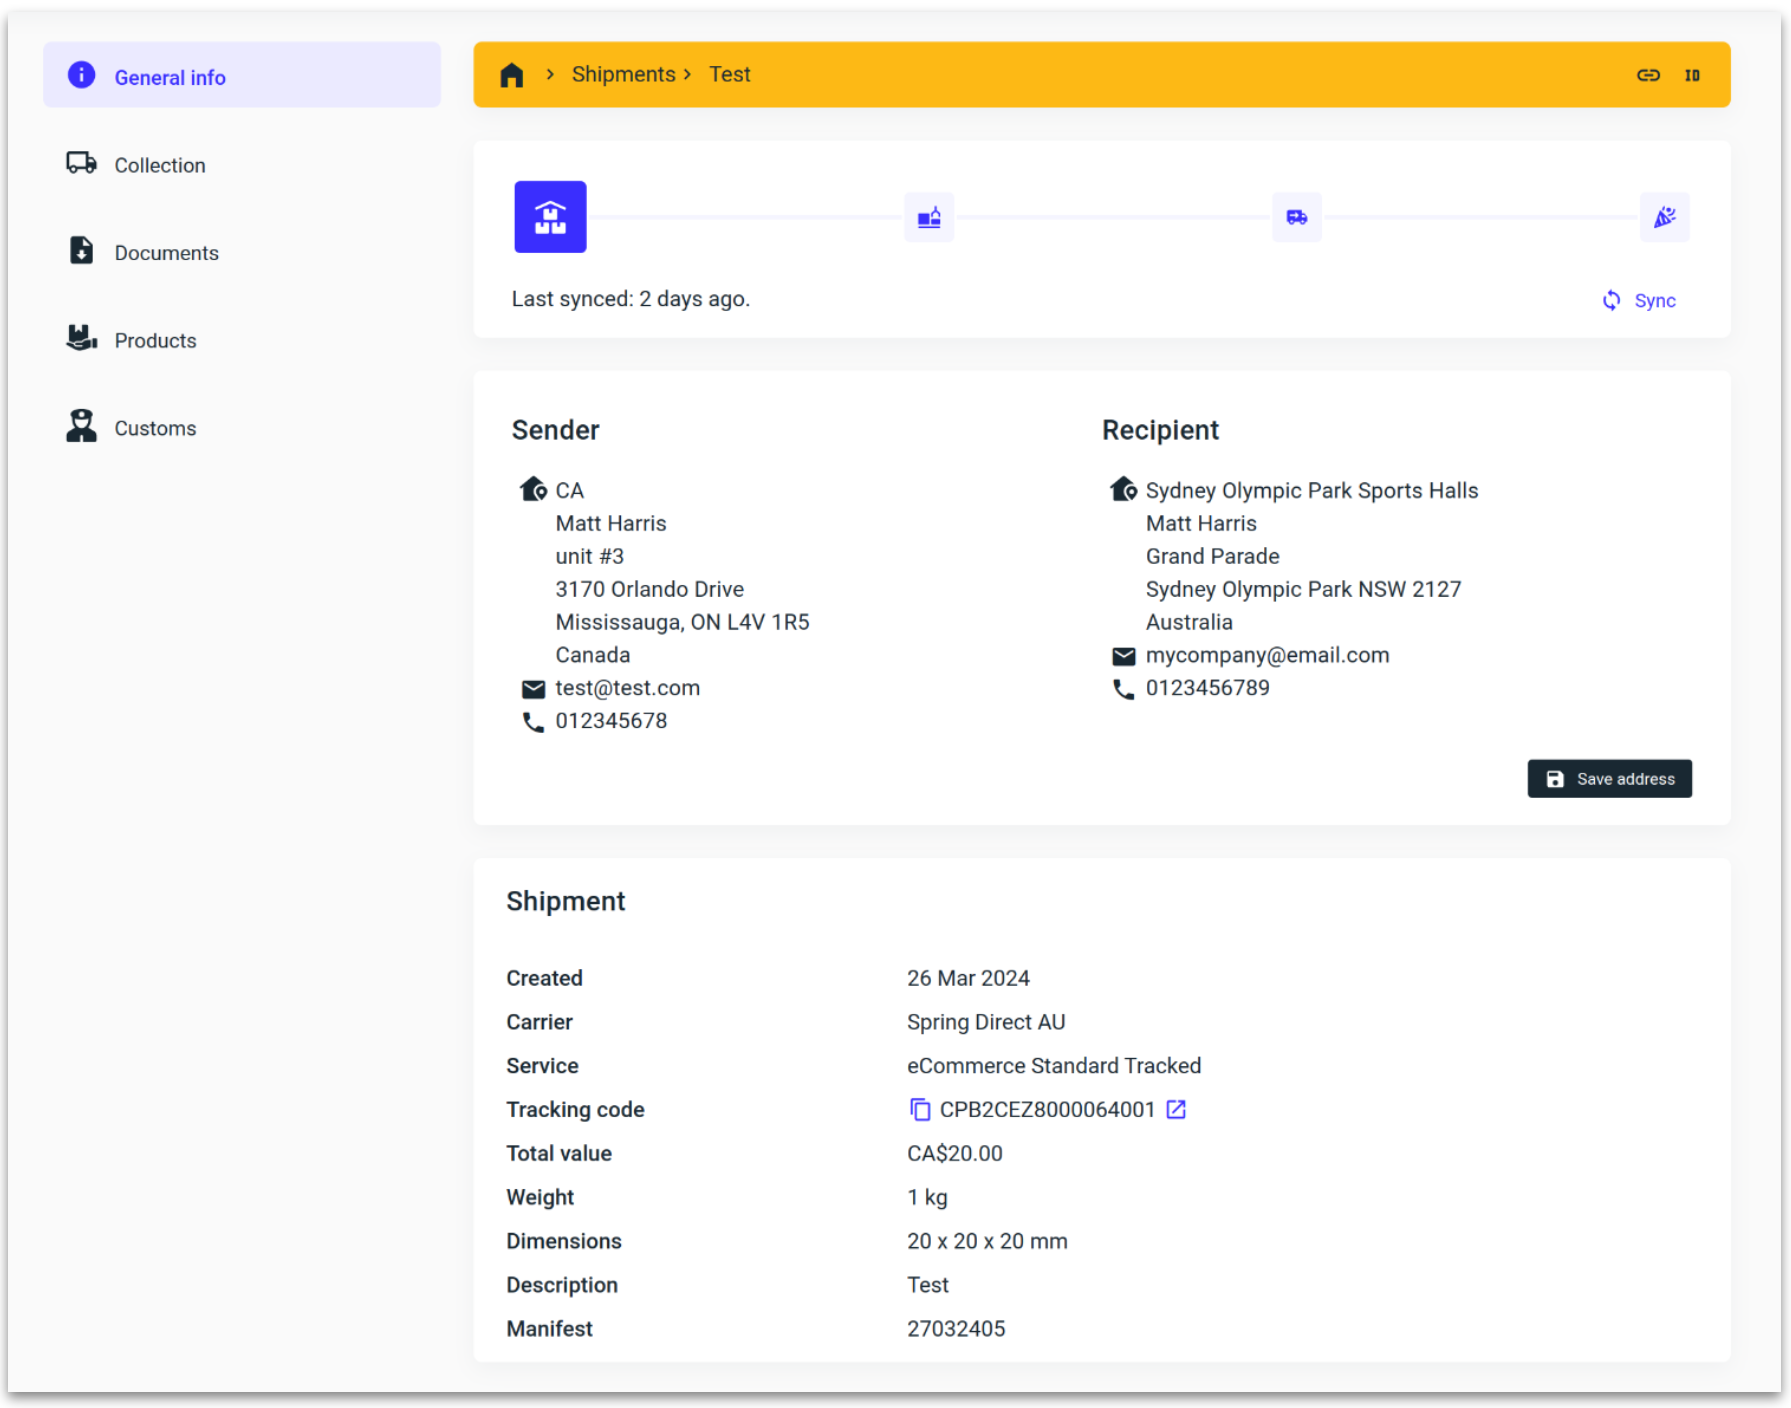
You can also save a contact into your address book from an existing shipment.
Click “Save address” under the recipient information of a shipments tracking card.
Using a contact
Use a contact when creating a shipment.
From the Shipment overview, follow the new shipment flow. In section 1, shipping location, click on the address book icon to the right of the address suggestion field.
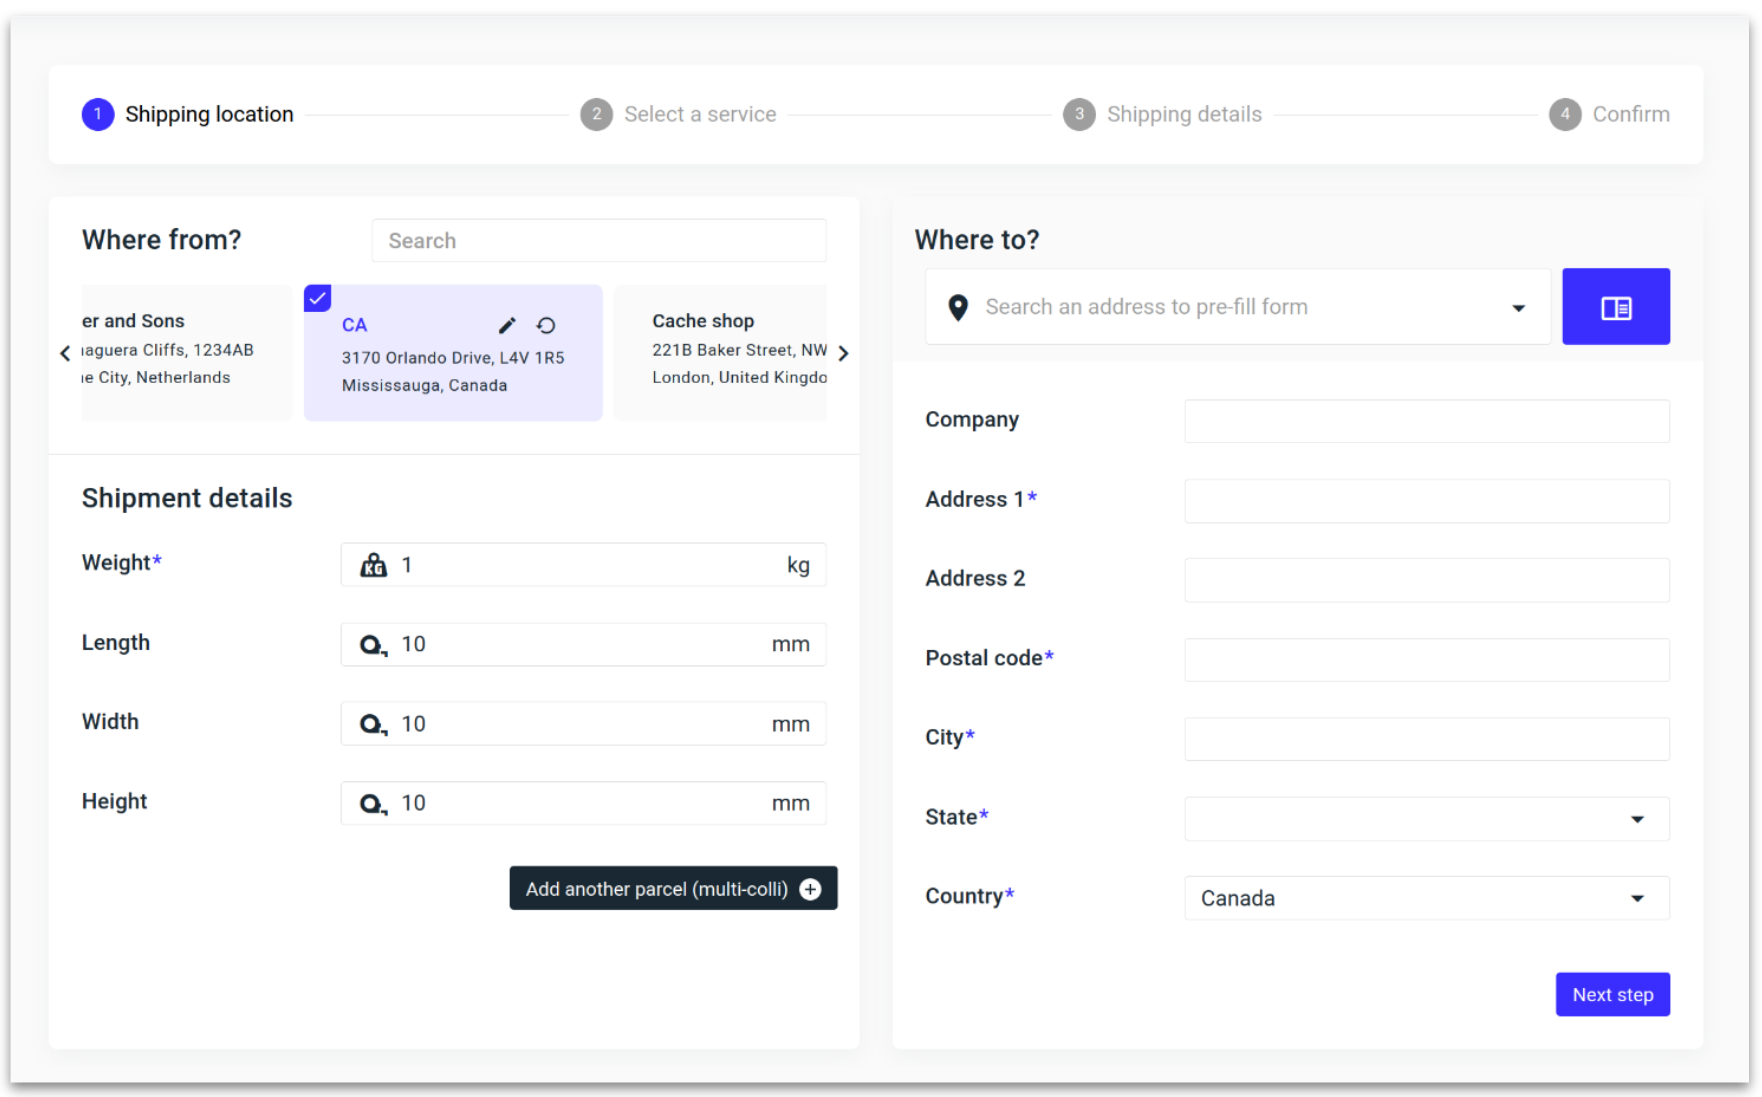
Select the correct recipient name.
Once selected, the receiver address will be auto-populated.